Objective
To demonstrate the complete process of moving an Okta-sourced user from one Active Directory (AD) Organizational Unit (OU) to another.
Details
This guide walks through the step-by-step process of moving an Okta-sourced user from one AD OU to another. The key challenge with Okta-sourced users is that their profile is mastered in Okta, not in Active Directory. This means the OU move must be orchestrated through Okta’s provisioning groups and the Okta API, rather than directly in AD. By using Okta API (via Postman), the user’s assignment can be transitioned from an individual type to a group-based assignment, and then change the target OU accordingly.
Prerequisites
Before following this guide, ensure you have the following in place:
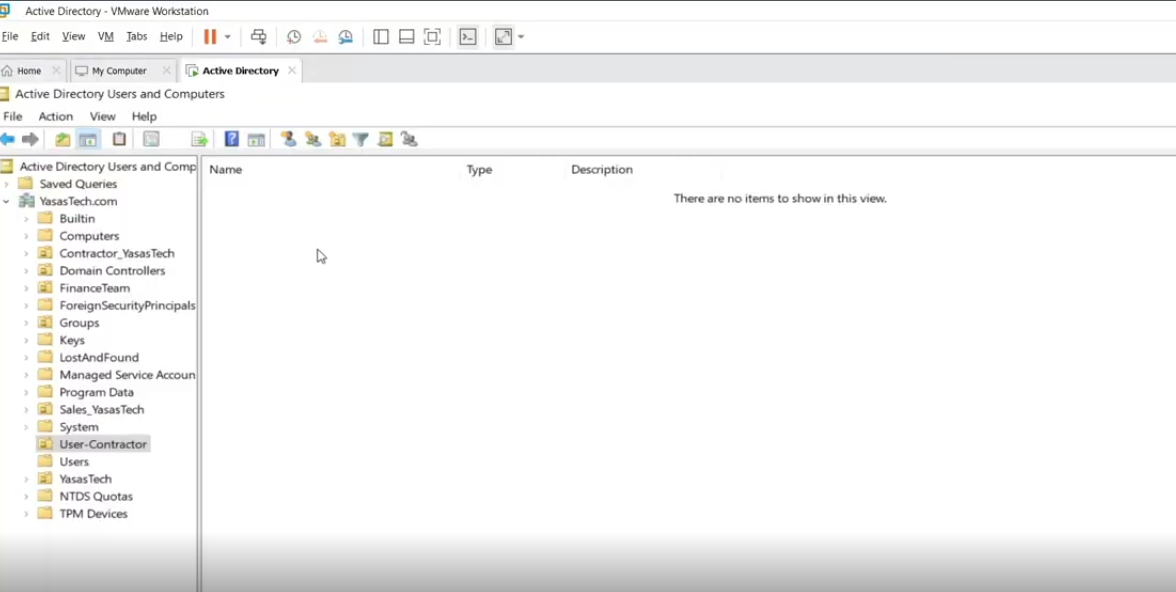
- An Active Directory environment with at least two Organizational Units (e.g., User-Contractor OU and Users OU)
- An Okta org with the Active Directory agent installed, configured, and running
- Postman installed with the Okta Admin Management API collection imported
- An Okta API token configured as an environment variable in Postman (base URL and API key headers set)
- Admin access to Okta
- Read-Write permissions on Active Directory Service Account
- For this usecase, a user is created in Okta that has an account existing in AD
Configure Provisioning To Okta
Ensure that Profile and Lifecycle sourcing is NOT enabled so that the user’s profile source is Okta.
Configure Provisioning to App
Provisioning to App should be configured in order to support OU changes. Let’s look at the steps.
- Navigate to To App settings in Directory Integration
- Click Edit to enable the necessary provisioning options (such as Create /Update/Deactivate Users/Sync Password)
- Configure the attribute mappings
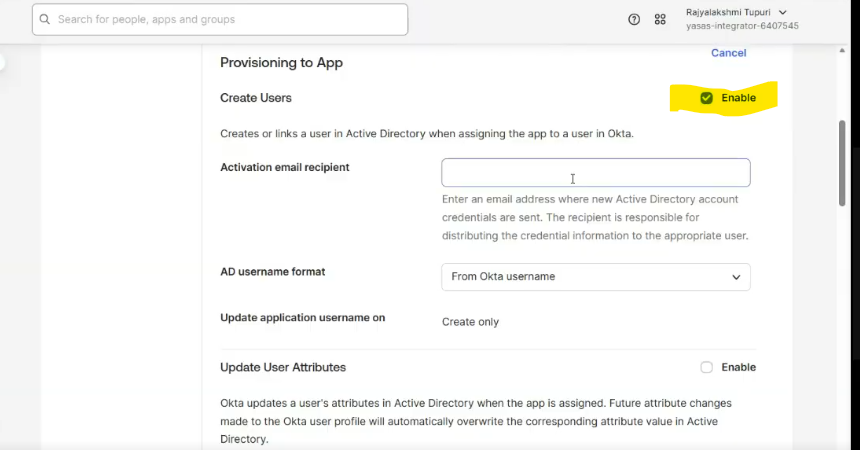
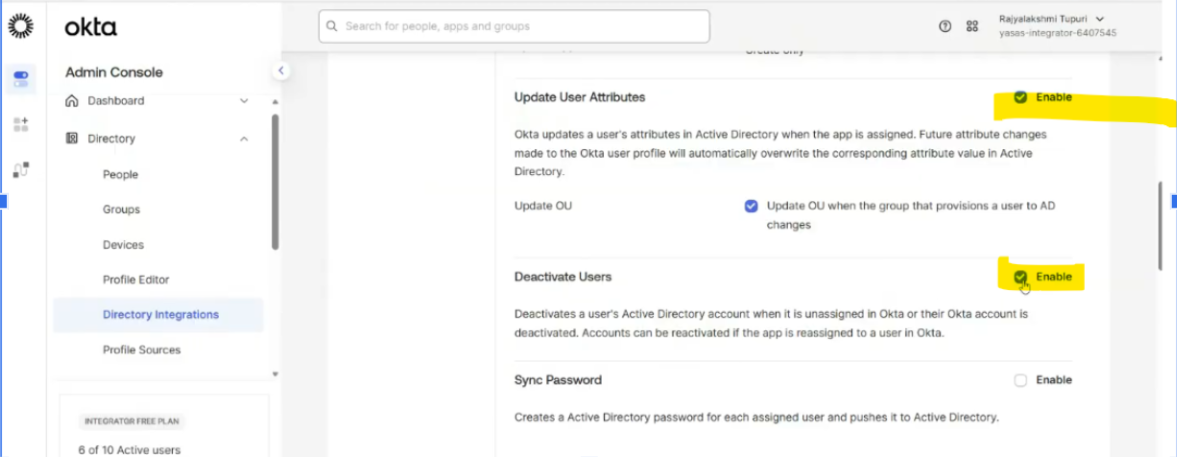
Leave other options to default
Directory Import
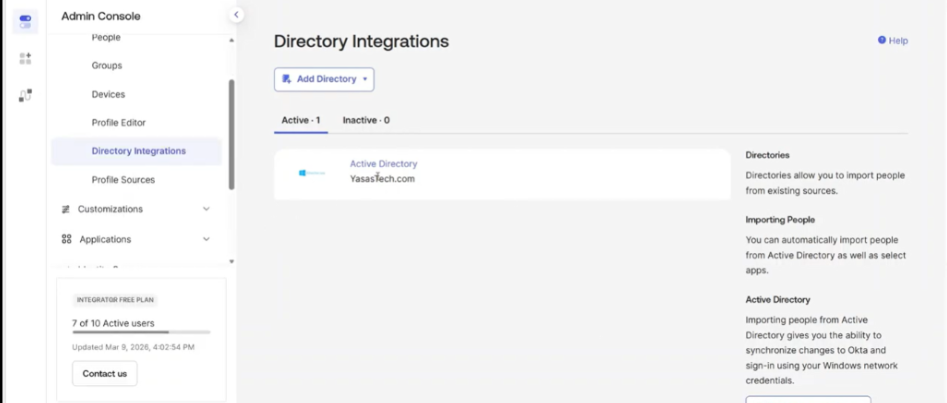
- Login to Okta and go to Directory>Directory Integrations
- Select your Active Directory instance
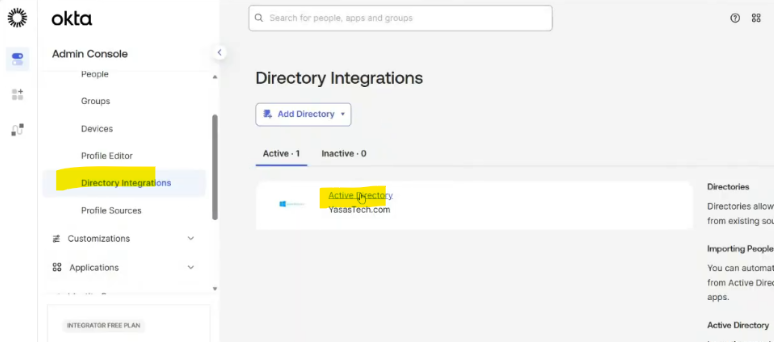
- Go to Import
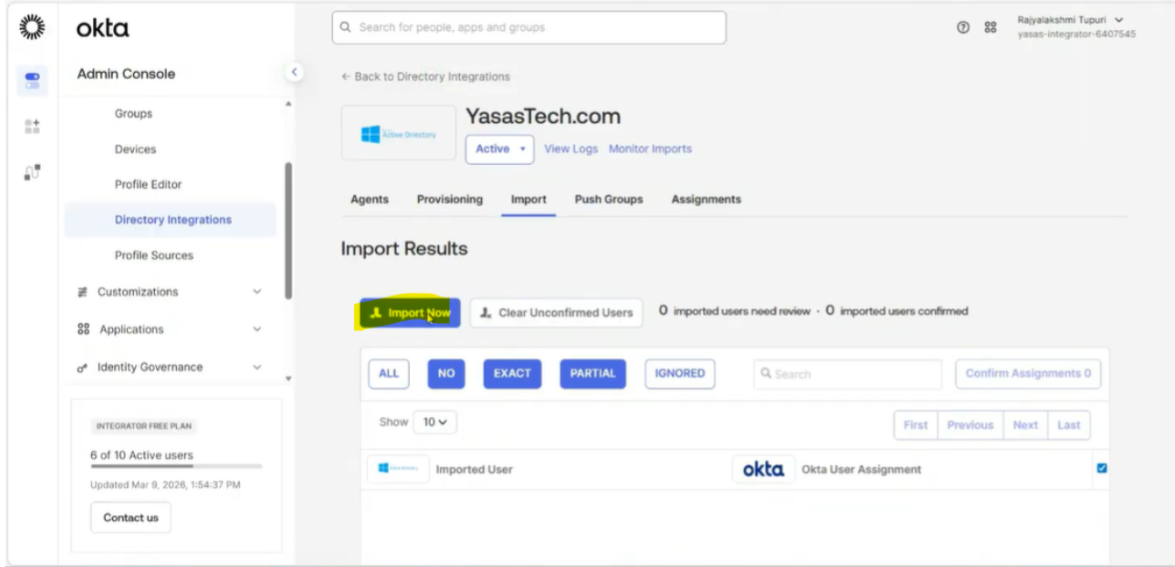
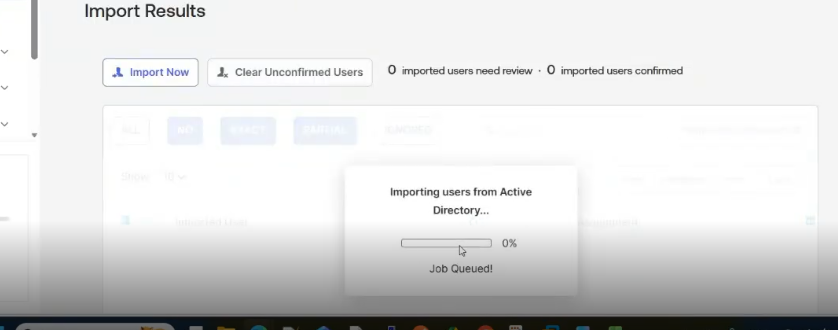
- Go to import tab and select import now option
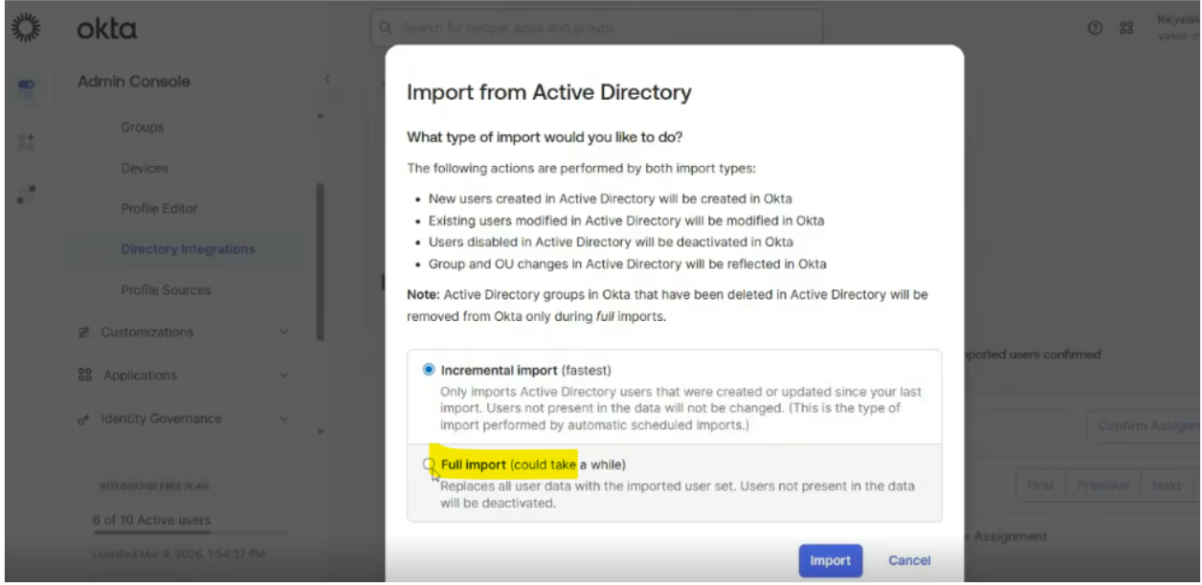
- Select full import to allow any new OUs to be imported
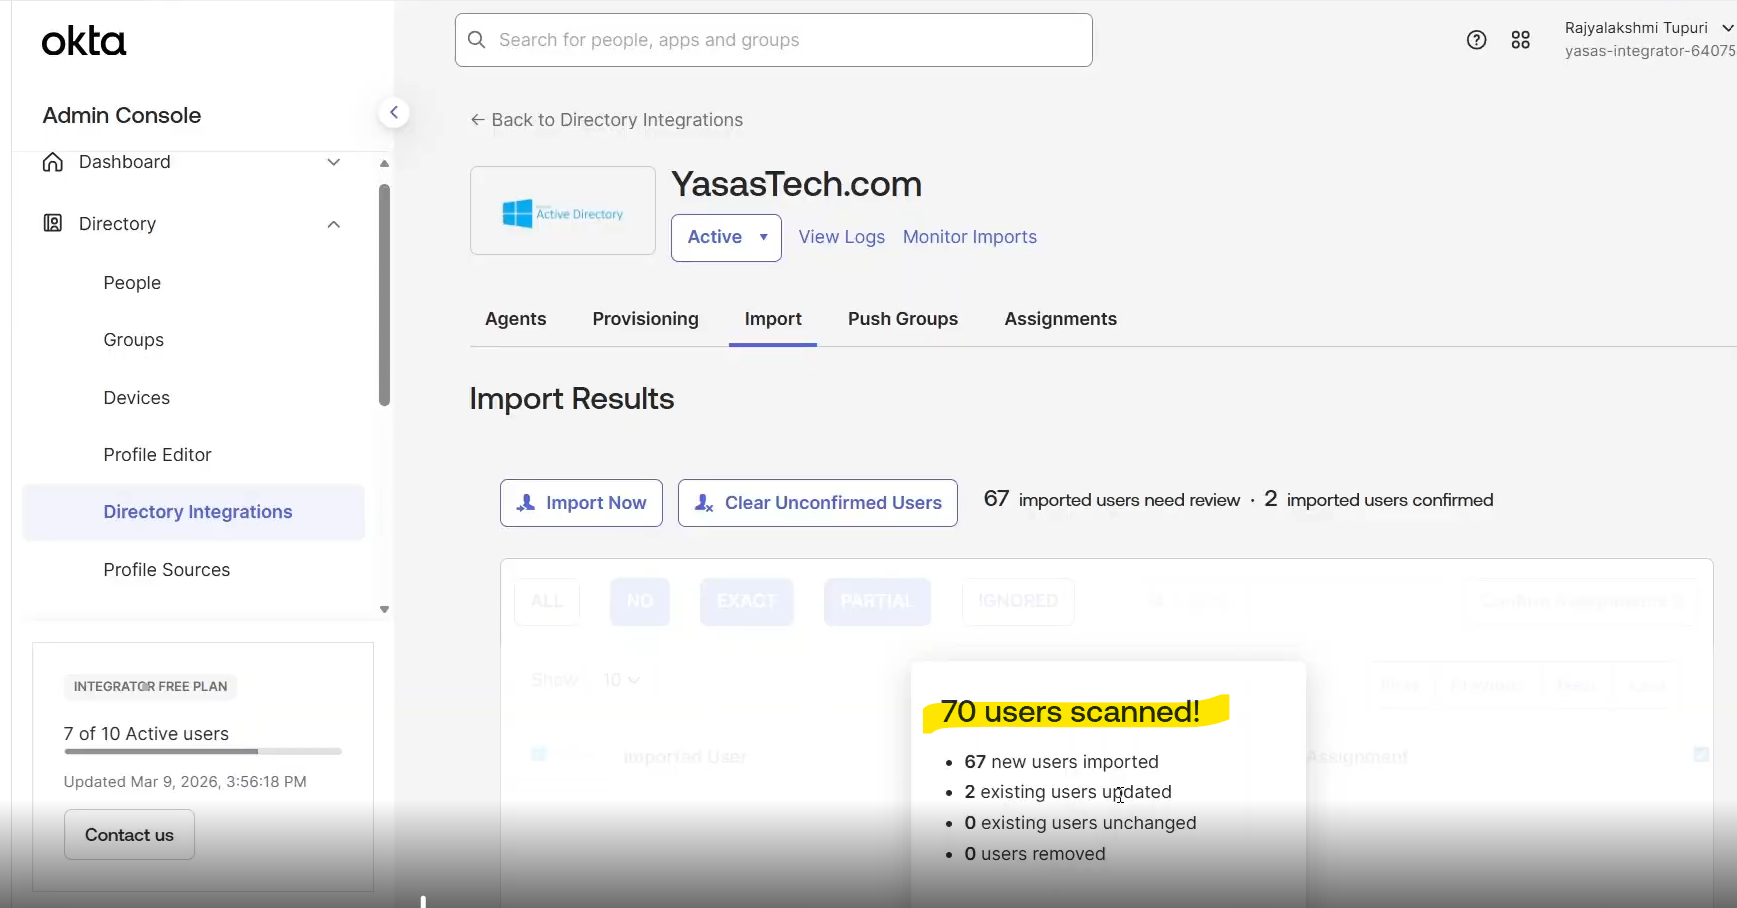
- Import Status shows how many users and groups will be created/updated/deleted
- Next search for the user to be used for OU movement
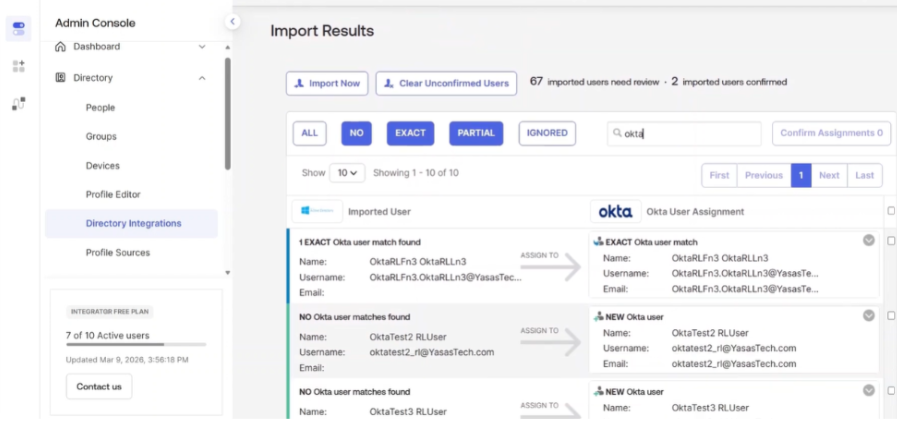
- Okta finds an exact match
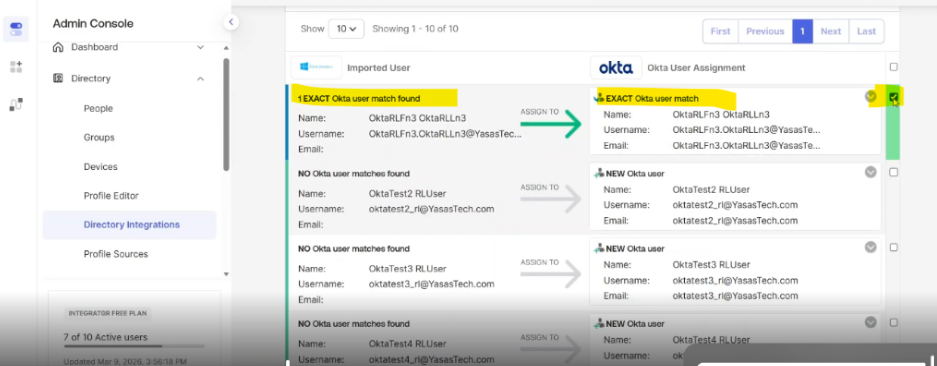
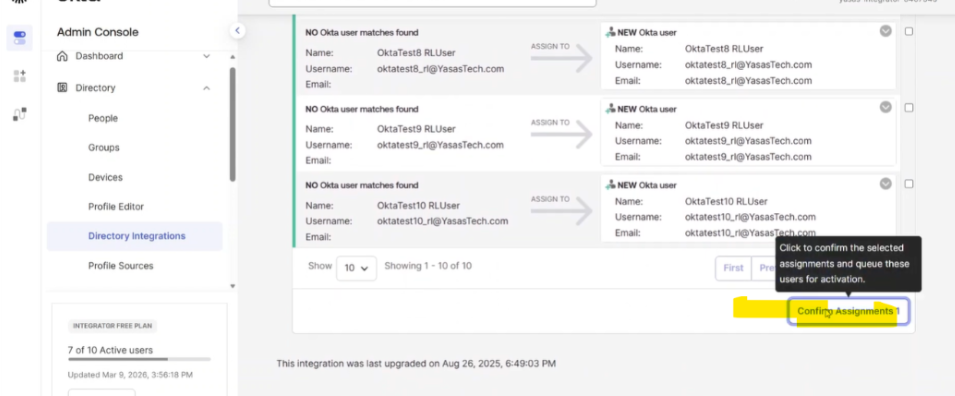
- Click to confirm this user and confirm the assignment

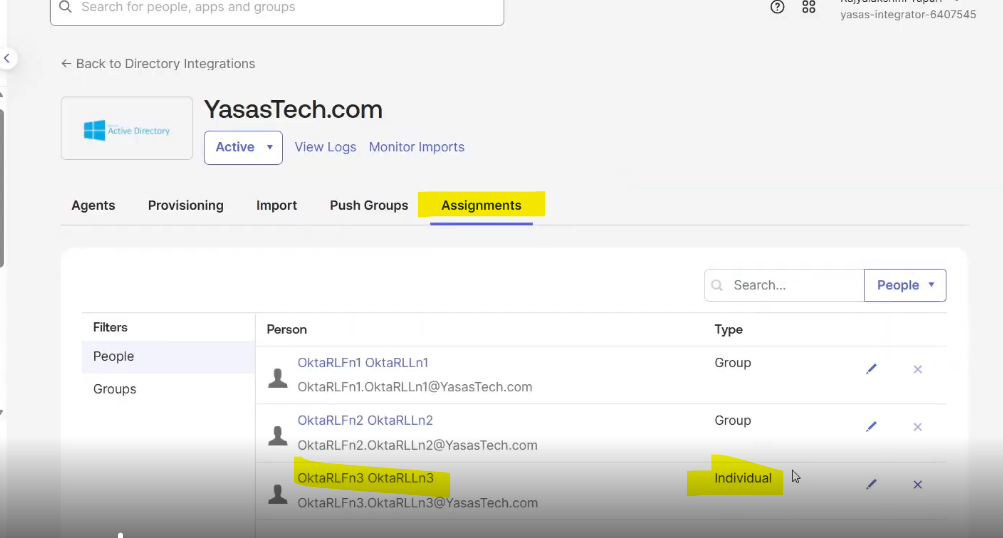
- Go to Directory>Directory Integrations
- Click the Active Directory Instance
- Observe the Assignment type of the user to be an Individual type
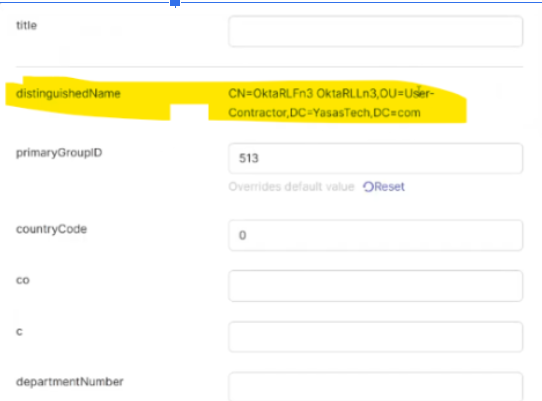
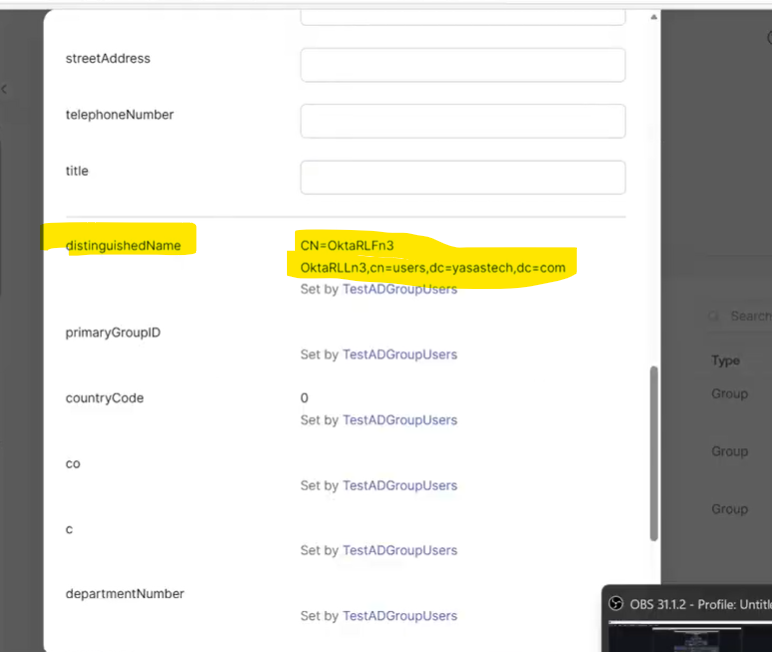
- Click the user and observe the distinguishedName attribute value
Set Up Group-Based Provisioning to manage user movement via groups
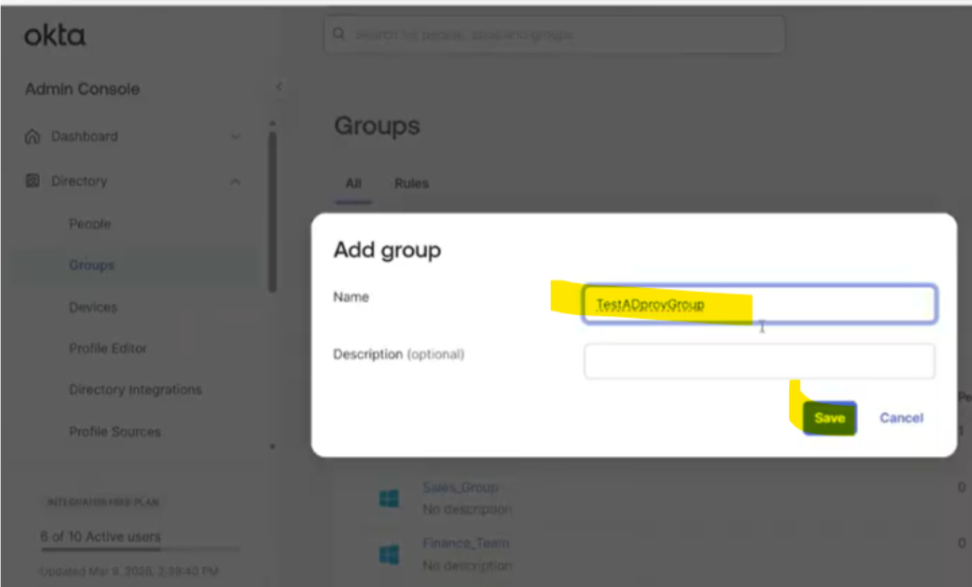
Add a group in Okta
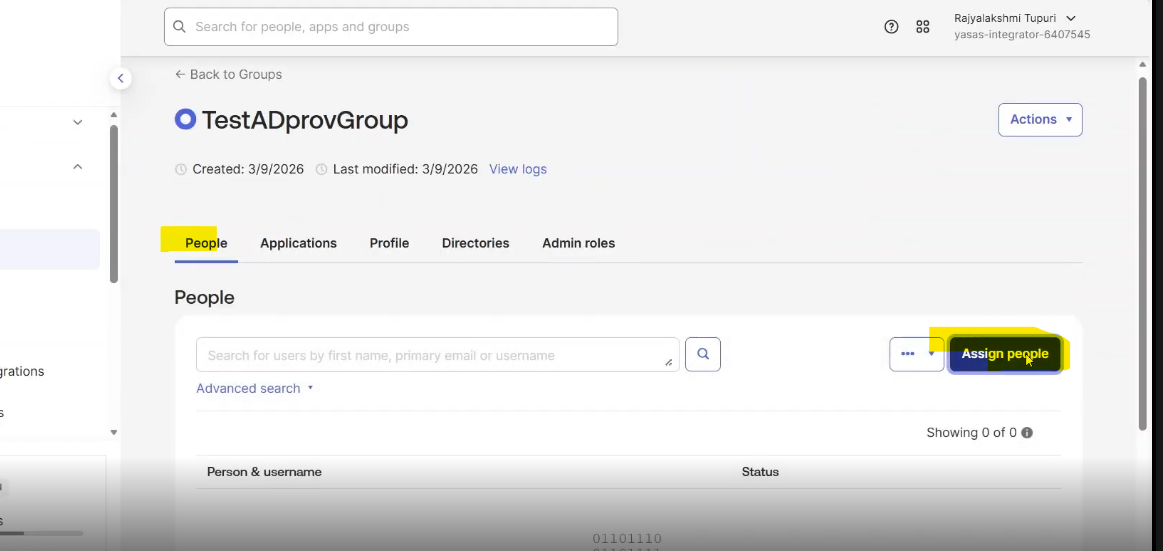
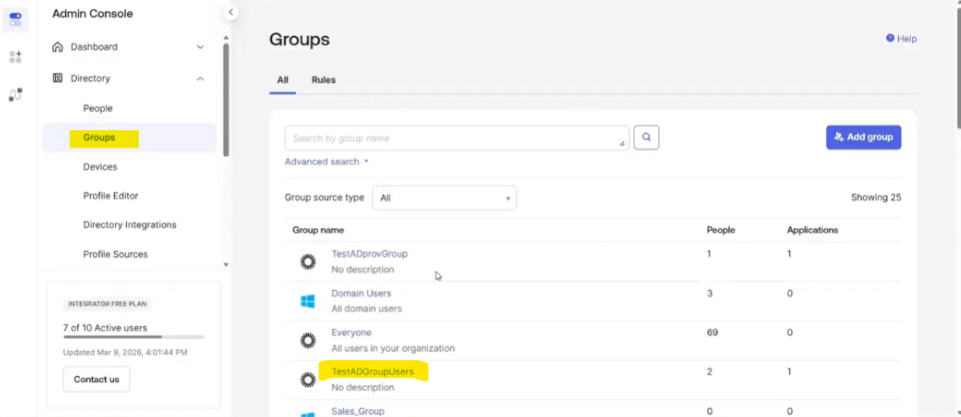
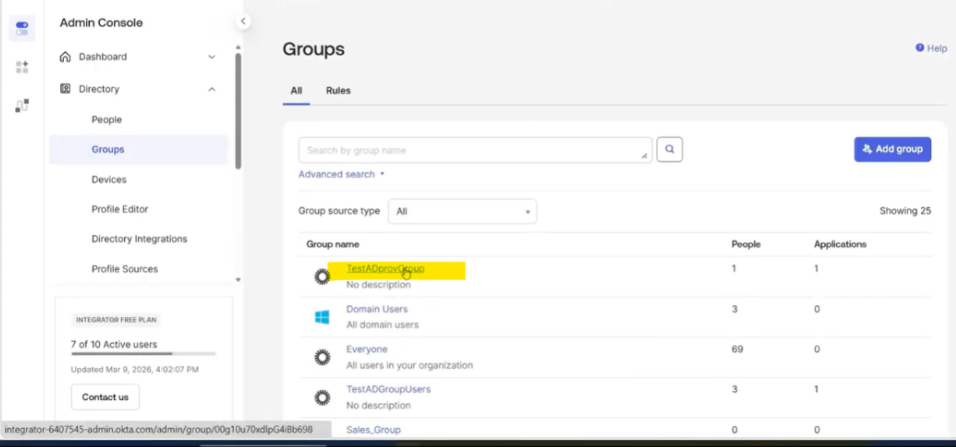
- Go to Directory>Groups
- Create groups and add AD OU to make them provisioning groups so that when a user is assigned to these groups the user is placed into the OU specified in the group (placement depends on the priority of the group as well)
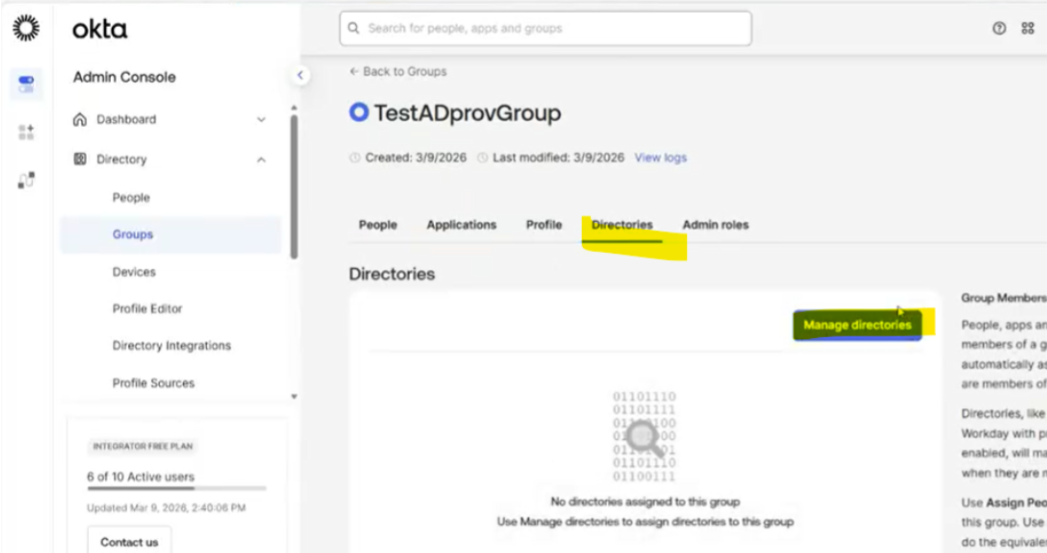
Demo Group 1: TestADprovGroup
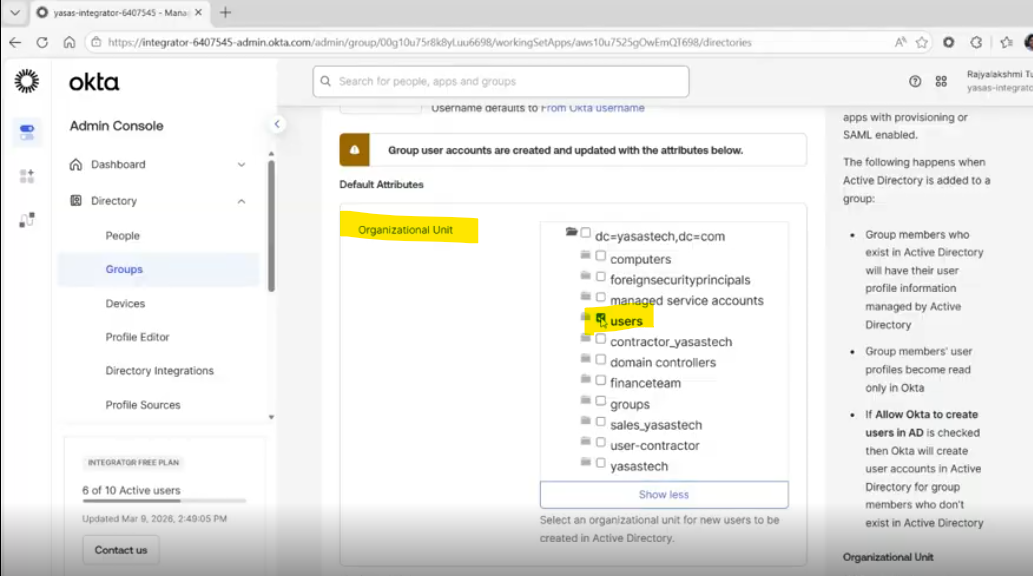
- Under Directory Integrations, Select the AD Instance and then OU

Demo Group 2: TestADGroupUsers
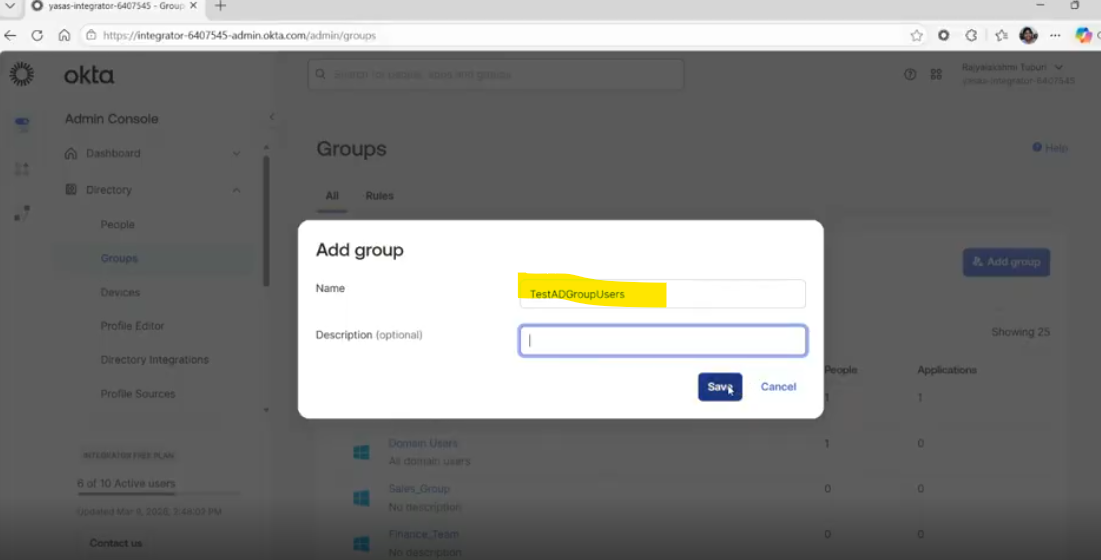
- Under Directory Integrations, Select the AD Instance and then OU
Assign the User to the Initial Provisioning Group
As a first step, assign the user to a provisioning group based on the user’s distinguished name attribute value which specifies the OU for the user (Ex: A user with OU as user-contractors will have to be in a provisioning group configured for the same OU)
Convert Individual Assignment to Group Assignment via Postman
To fully enable group-based routing, the user’s application assignment must be converted from an individual assignment to a group assignment using the Okta API.
Open Postman and configure your environment with the correct Okta base URL, API keys, and headers. Okta Admin Management API must have been imported.
Let’s look at the steps:
Retrieve an application user
- API Request: Retrieve an application user
get{{baseURL}}/api/v1/apps/{appId}/users/{userId}
- Input Parameters
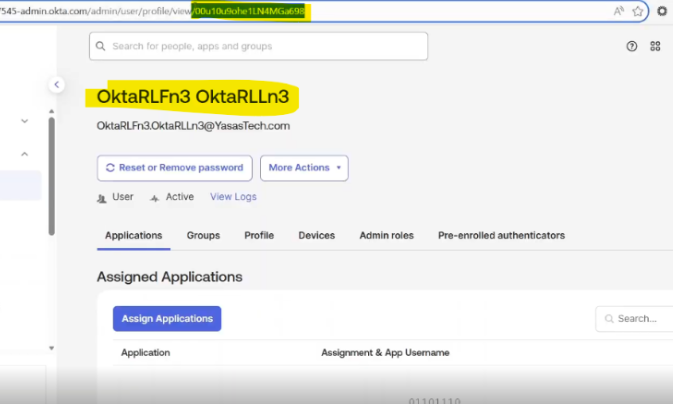
userId of the user to be moved to another OU
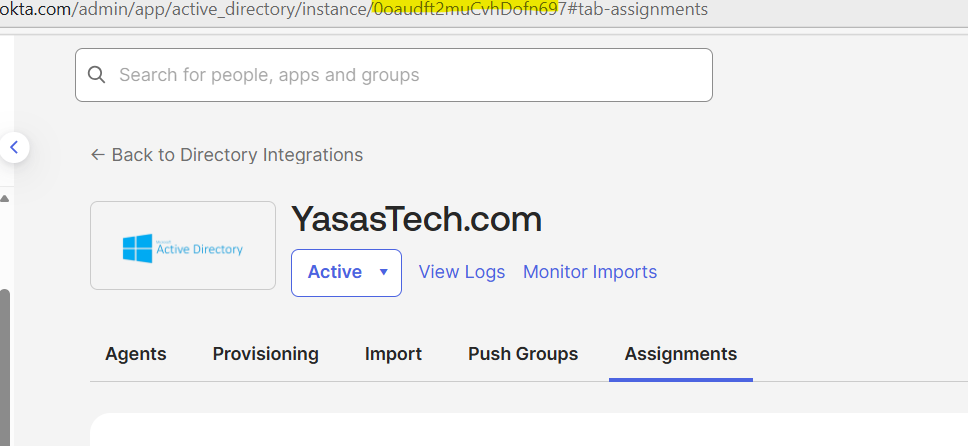
appId: Active Directory instance ID
We can get these IDs from browser URL when we look up the user and active directory instance
Ex appId:
userId:
- Replace the userId and appID from Okta
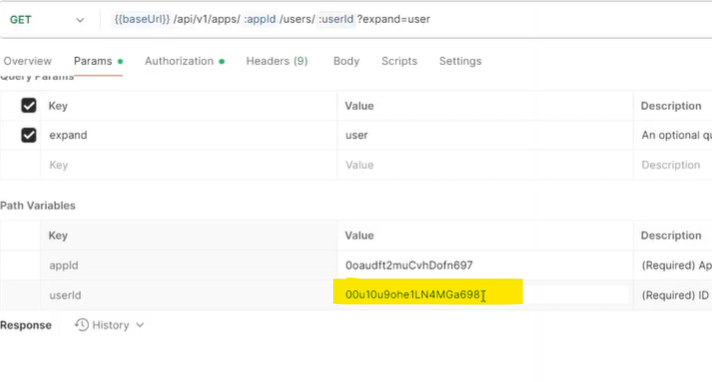
- Hit send to run the request
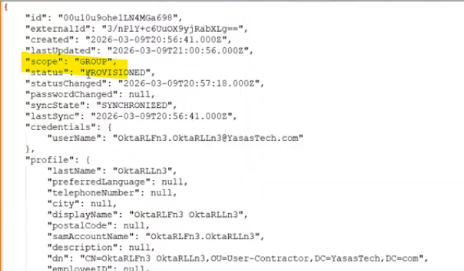
- Copy the response to notepad/notepad++
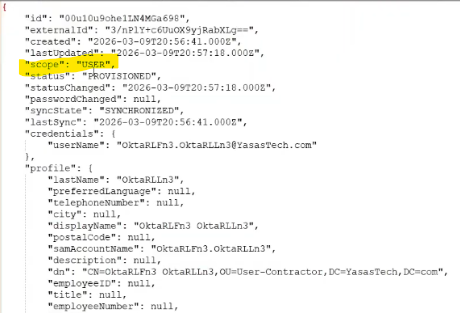
- Observe that the scope is USER which indicates its an individual assignment type
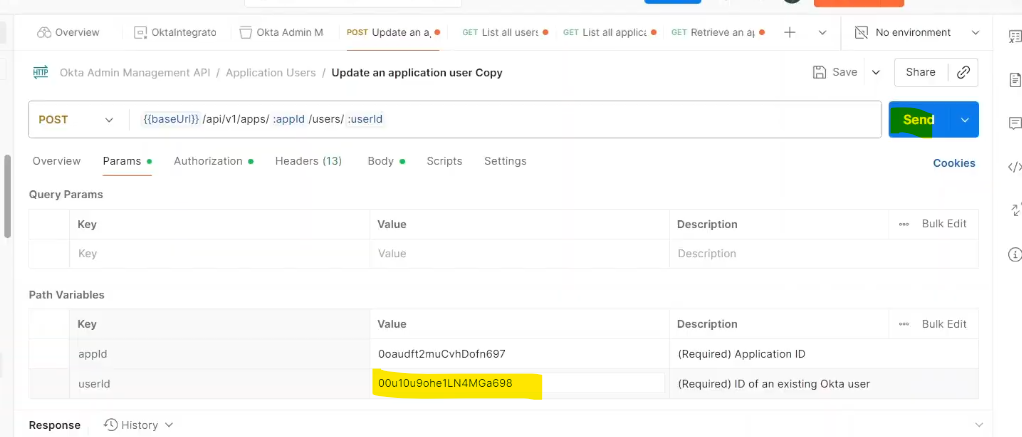
Change the scope on application user to group
- API Request: Update an application user (we made a duplicate of the request)
post/api/v1/apps/{appId}/users/{userId}
- Input Parameters
userId of the user to be moved to another OU
appId: Active Directory instance ID
We can get these IDs from browser URL when we look up the user and active directory instance
- Replace the userId and appId like in previous request
- API request body
Add the below body
{
“scope”: “GROUP”
}
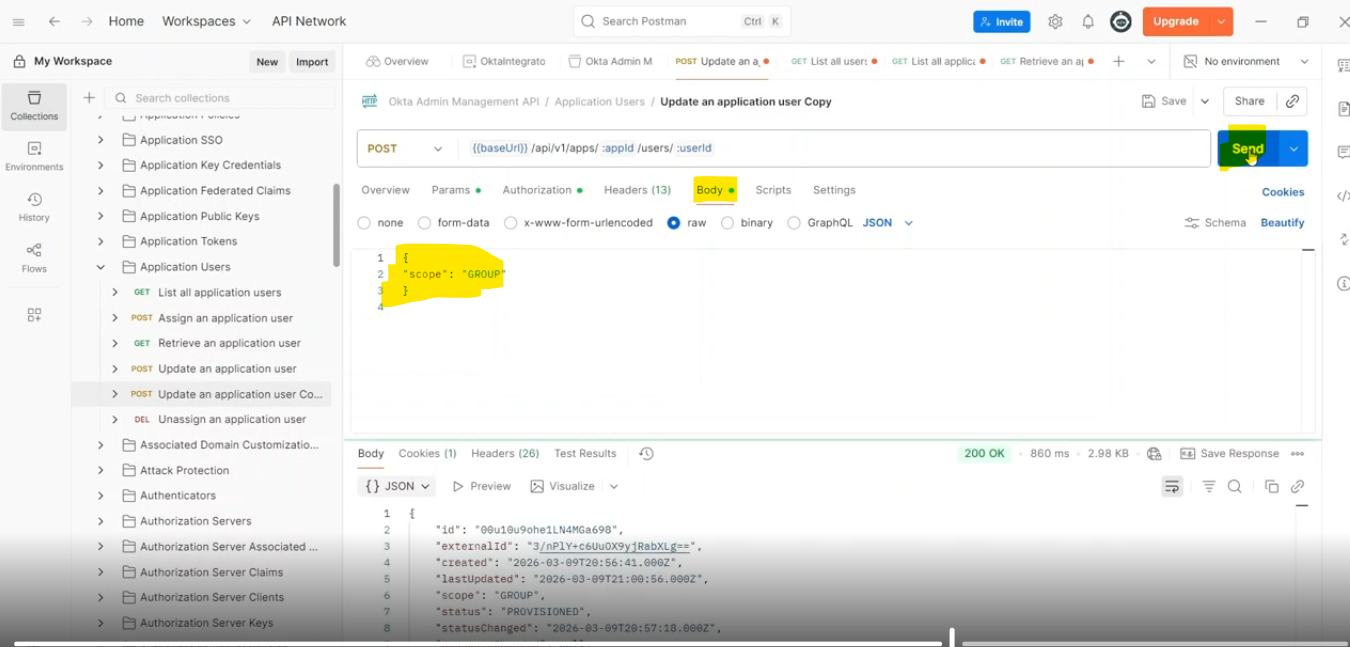
- Hit Send
- Copy the response into a notepad
- Observe that the scope has changed to GROUP which indicates a group assignment
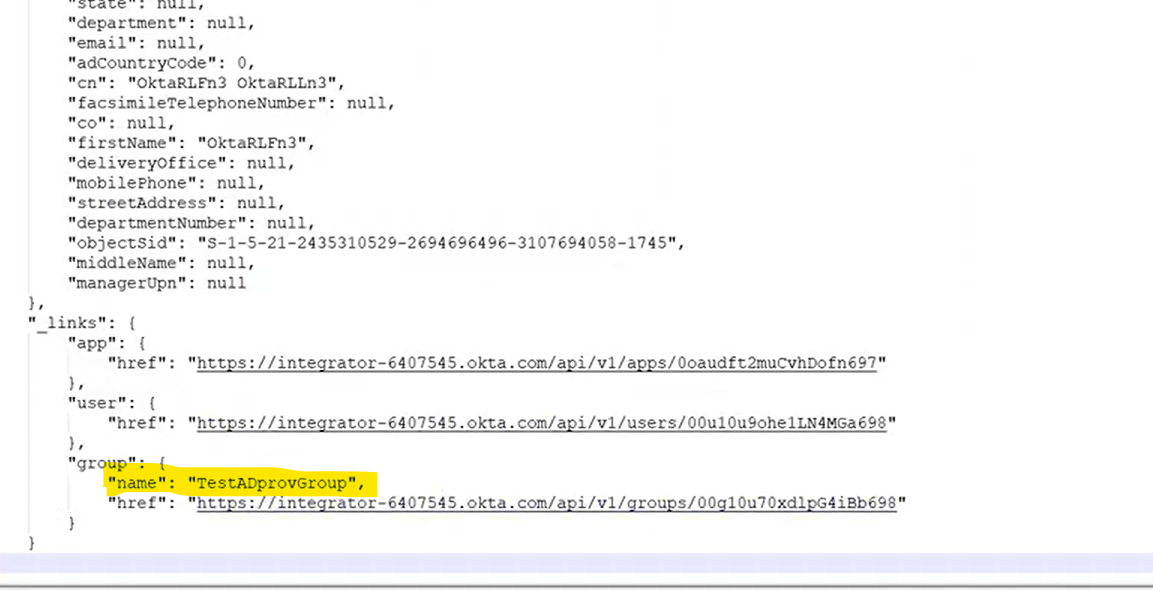
- Also observe the group assignment of the user
Move the user to a new OU
There are mainly 2 steps to move the user to a new OU in this case users OU
Step 1: Add the user to a new provisioning group
The destination group is TestADGroupUser meant for the “Users” OU
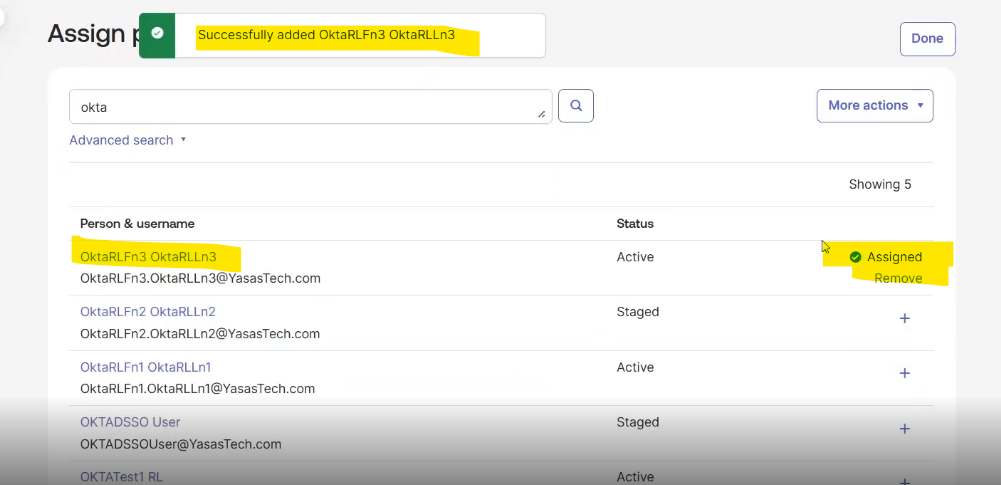
- Assign the user to this group
- Go to Directory>Groups
- Assign intended user to this group
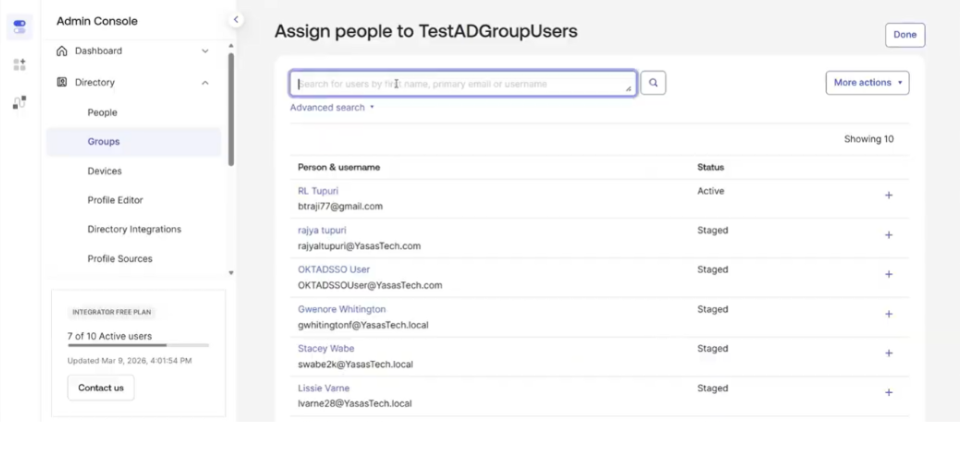

Successfully assigned the user to the group
Step 2: Remove the user from previous group
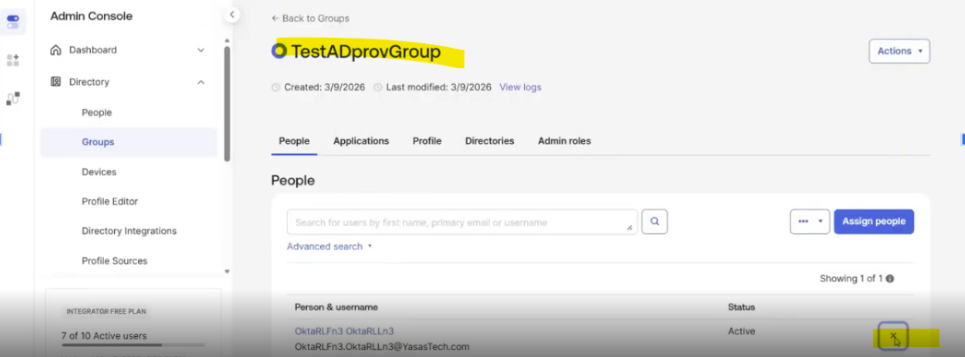
- Find and click the group from Directory>Groups group list
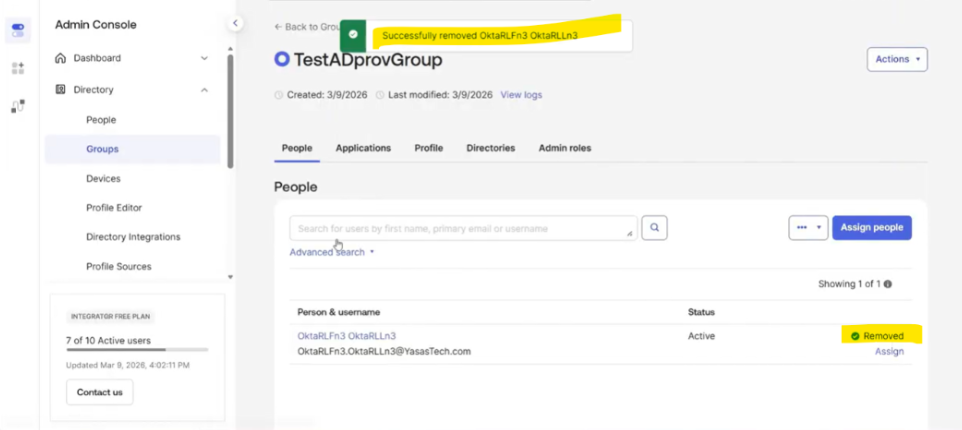
- Find the user to be removed and click remove icon to remove the user from the group
Verification
Open Active Directory and refresh the interface.
Check the new Users OU; the user should now be present there, confirming they were successfully moved from the User-Contractor OU to Users OU
Verify in AD
- In AD, refresh the user-contractor OU
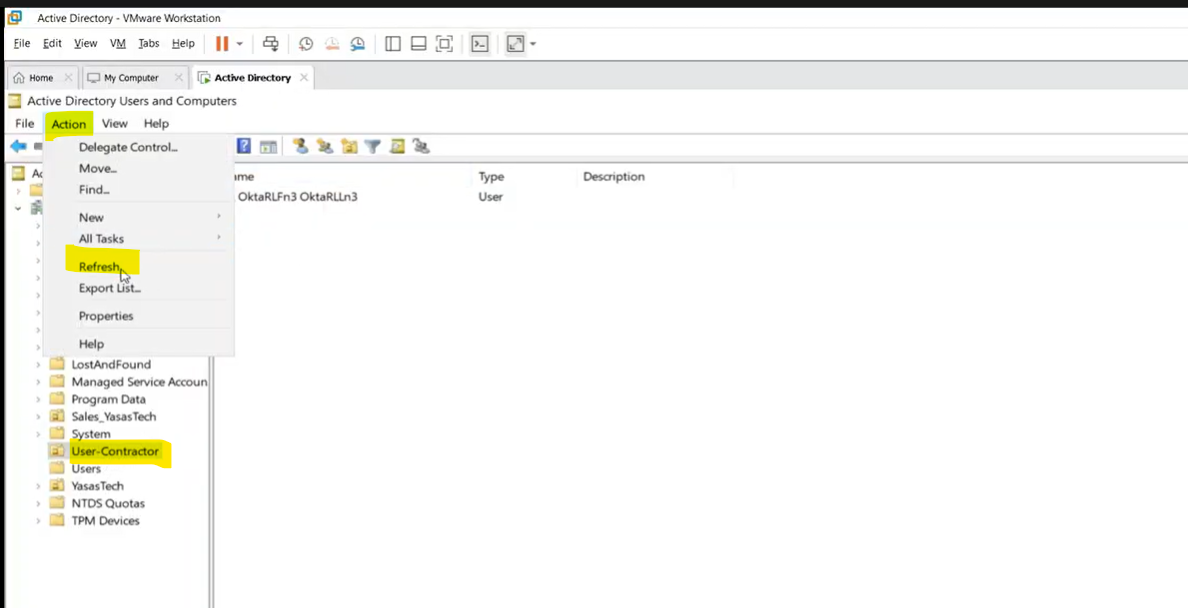
- The user is not in user contractor OU
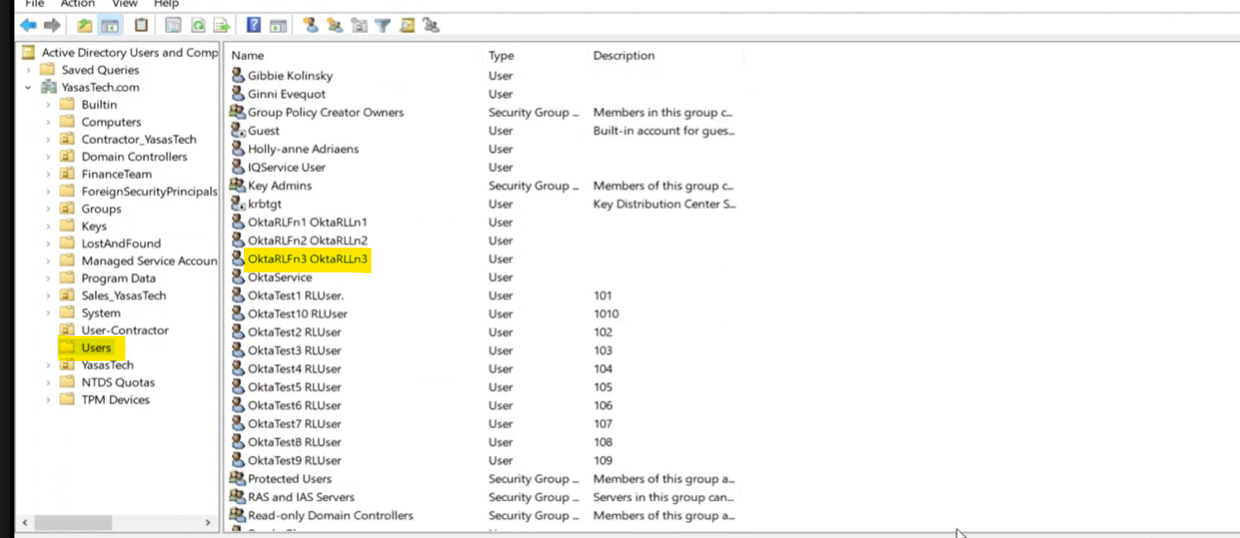
- Refresh the users OU
- The user has been moved
Verify in Okta
- Go to Directory integrations
- Click the Active Directory Instance
- Go to Assignments
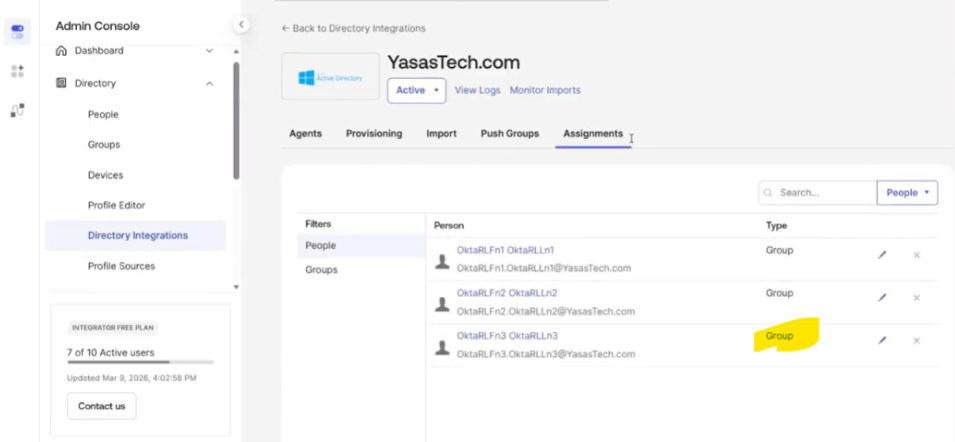
- Click the user
- The user’s OU has changed to destination OU
Reference
Author
Ranga Vinjamuri
Rajya Tupuri.
Sricharan KT