Objective
This blog walks through the complete end-to-end steps to move an Active Directory (AD) sourced user into another Organizational Unit (OU) based on Okta provisioning groups.
Details
When Okta is integrated with Active Directory (AD), users sourced from AD are managed through Okta’s directory integration. A common administrative task is moving an AD-sourced user from one Organizational Unit (OU) to another. In Okta, this is achieved by managing group-to-OU mappings by creating provisioning groups: the provisioning group in Okta is linked to a specific AD OU, and changing a user’s Okta provisioning group membership automatically triggers the corresponding OU move in Active Directory.
Prerequisites
Before following this guide, ensure you have the following in place:
- An Active Directory environment with at least two Organizational Units (e.g., User-Contractor OU and Users OU)
- An Okta org with the Active Directory agent installed, configured, and running
- Postman installed with the Okta Admin Management API collection imported and configured with API credentials from Okta
- Admin access to Okta
- Read-Write permissions on Active Directory Service Account
Configure Provisioning To Okta
Ensure that Profile and Lifecycle sourcing is enabled so that AD is the source for the users who get imported from AD
Configure Provisioning to App
Provisioning to App should be configured in order to support OU changes. Let’s look at the steps.
- Navigate to To App settings in Directory Integration
- Click Edit to enable the necessary provisioning options (such as Update/Deactivation)
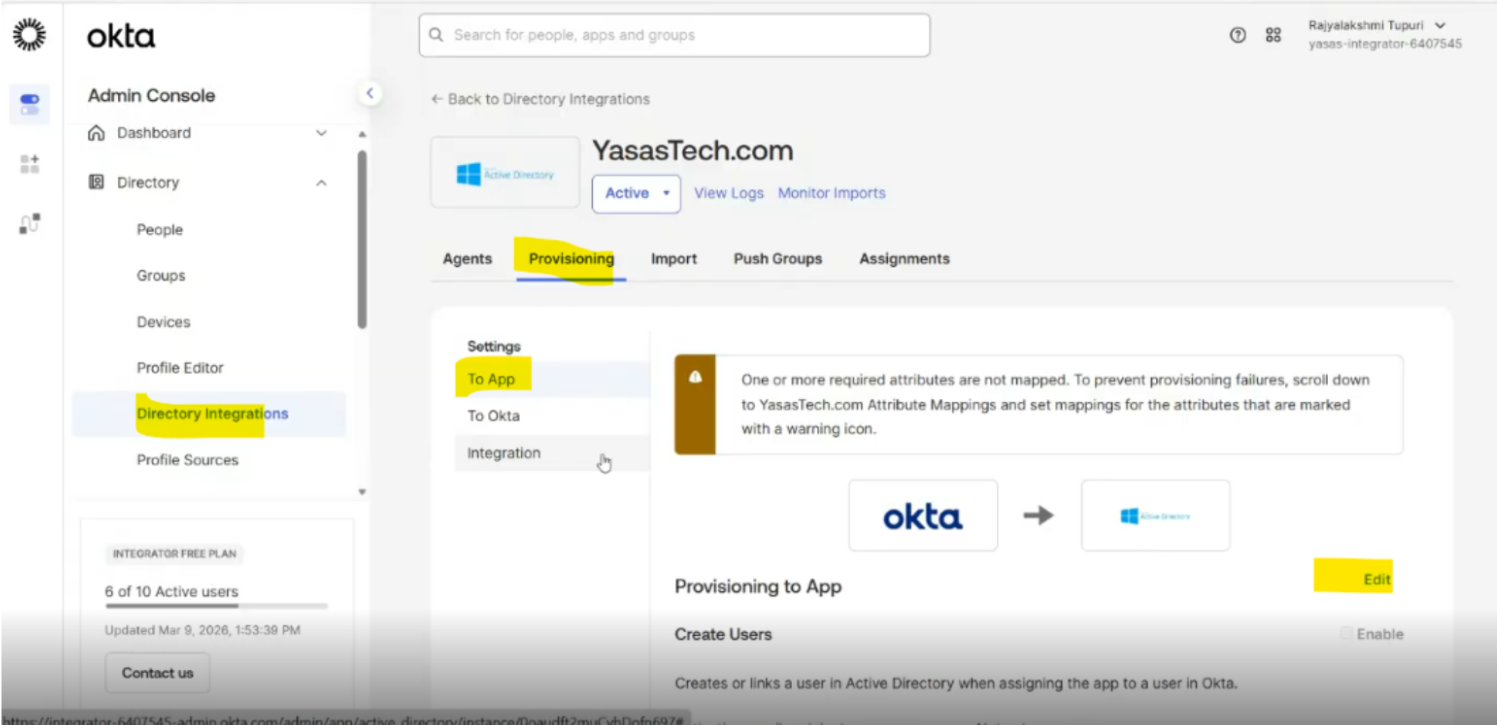
Leave other options to default
Directory Import
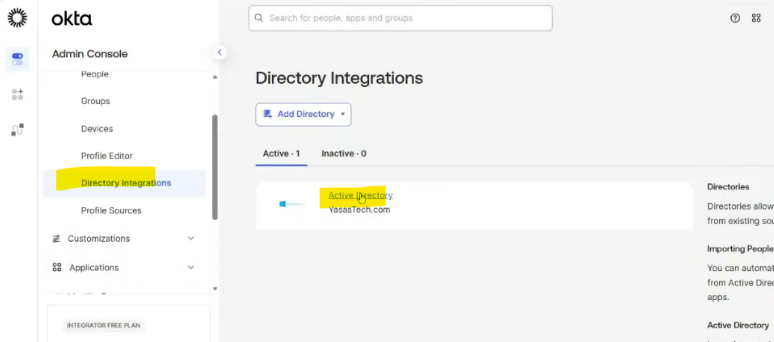
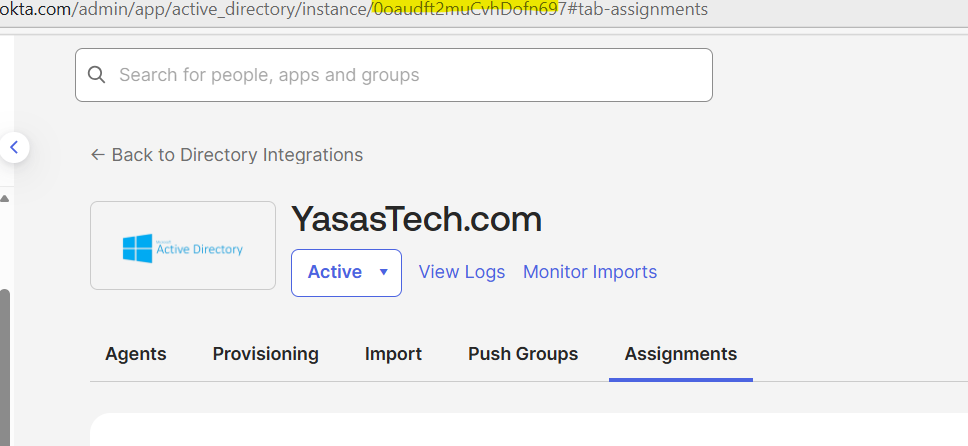
- Login to Okta and go to Directory>Directory Integrations
- Select your Active Directory instance.
- Go to Import
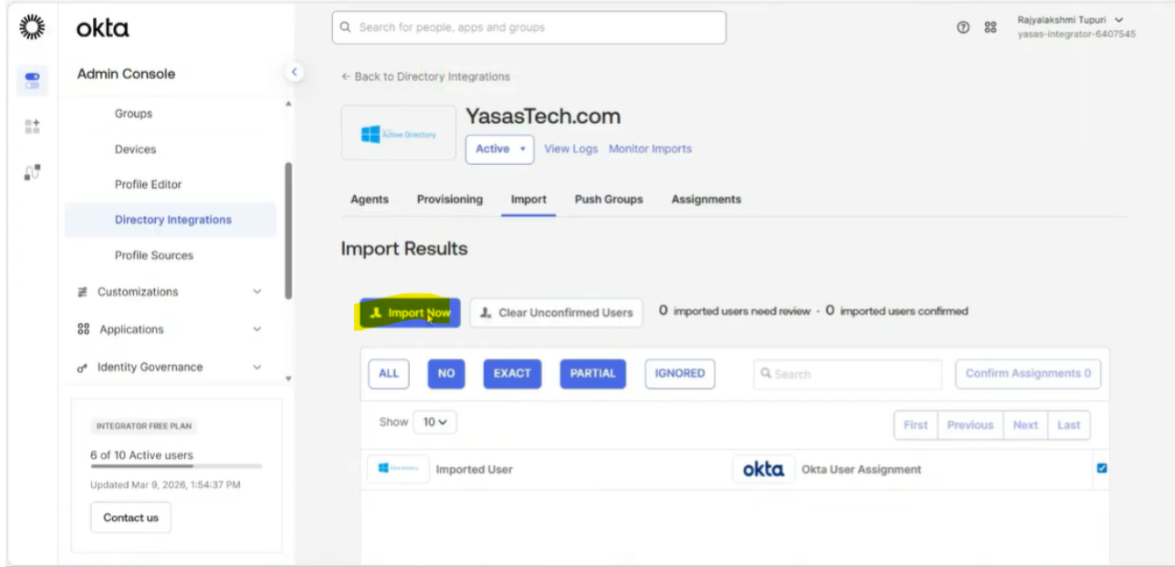
- Go to import tab and select import now option
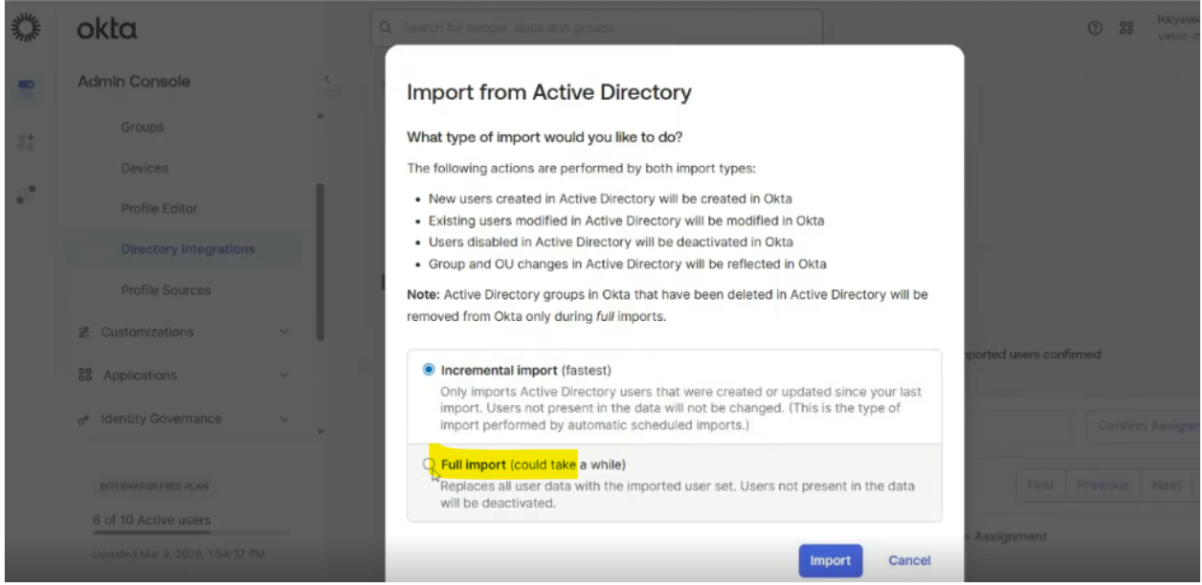
- Select full import to allow any new OUs to be imported
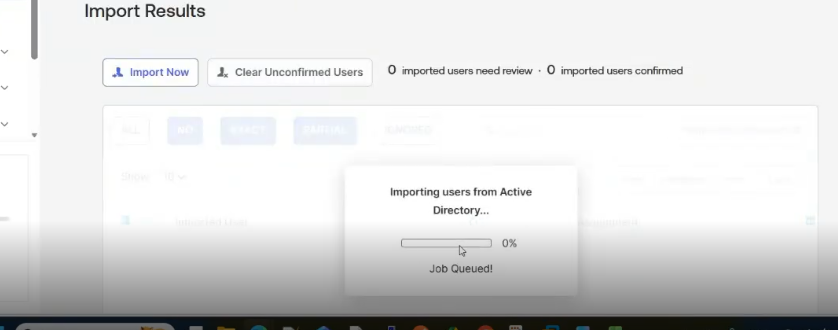
- Import started
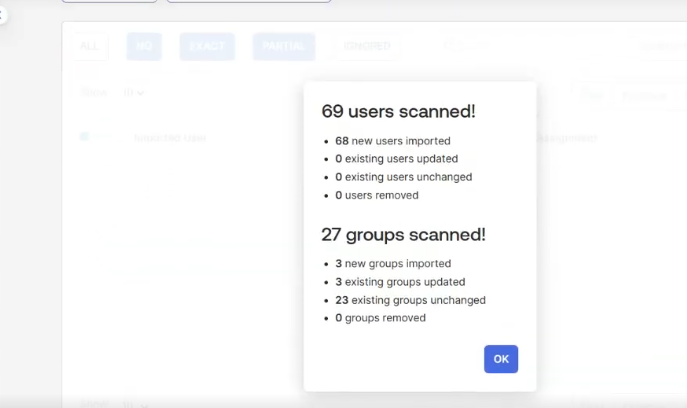
- Import completed
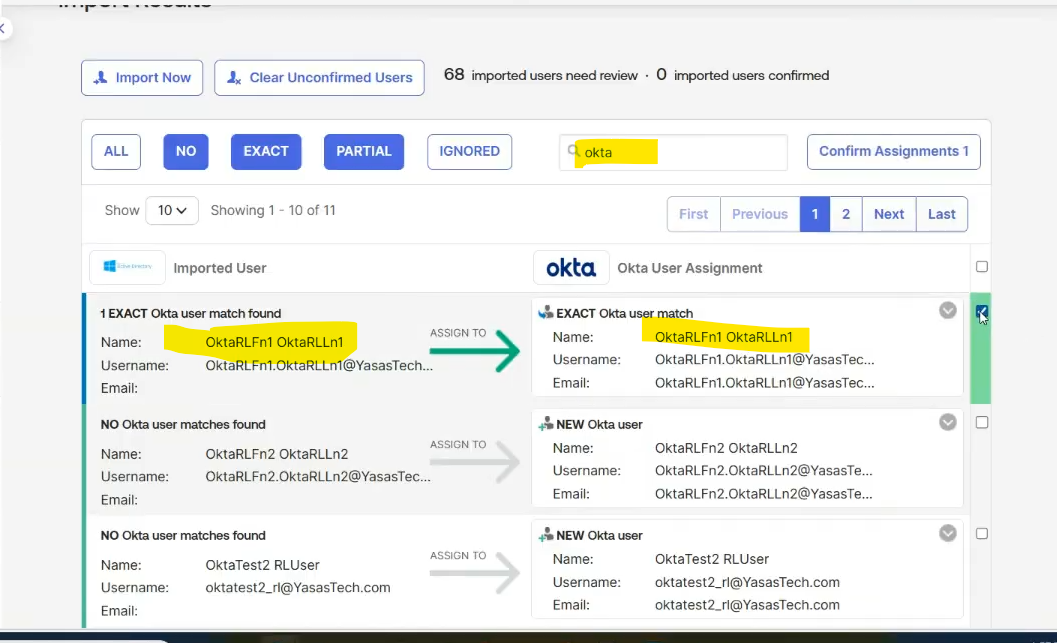
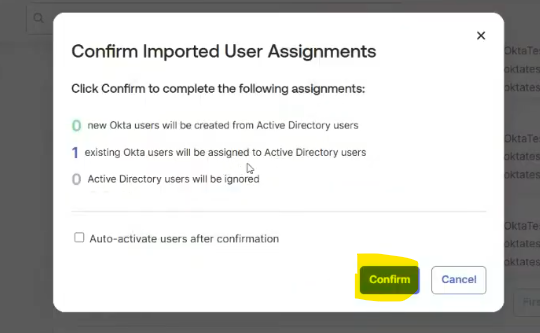
- For this use case, we will select one user to import and confirm the assignment
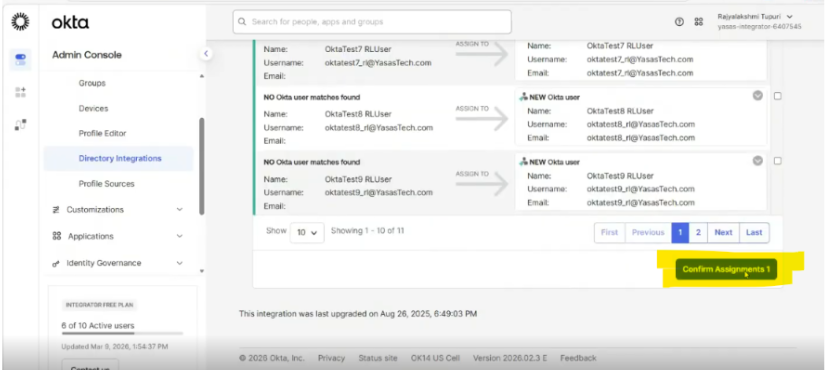
- Select Confirm
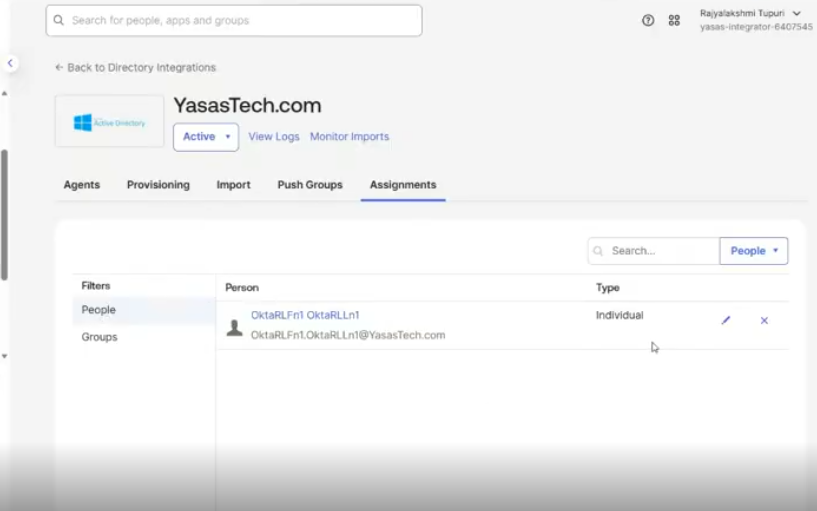
- Go to assignments and observe the Assignment type of the user. Its individual type
Set Up Group-Based Provisioning to manage user movement via groups
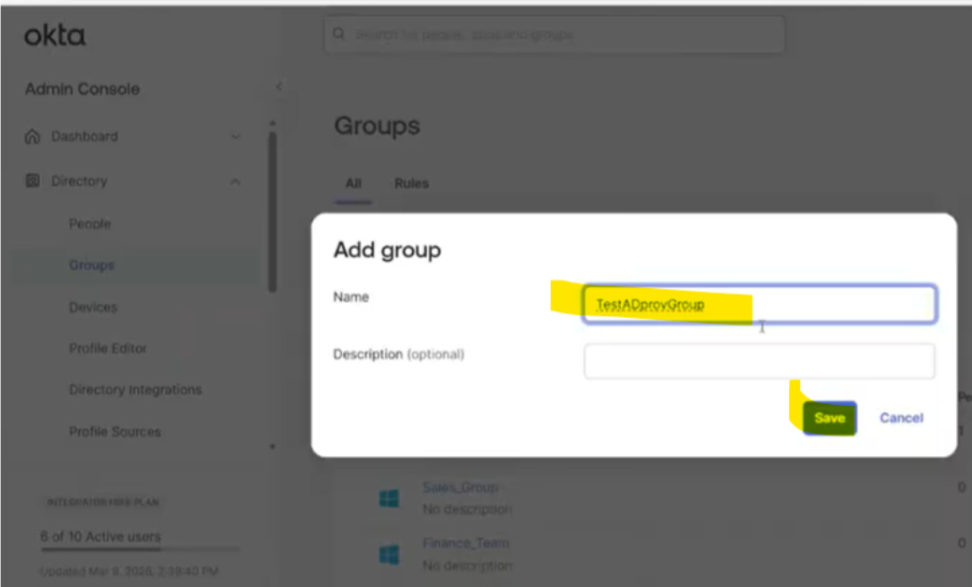
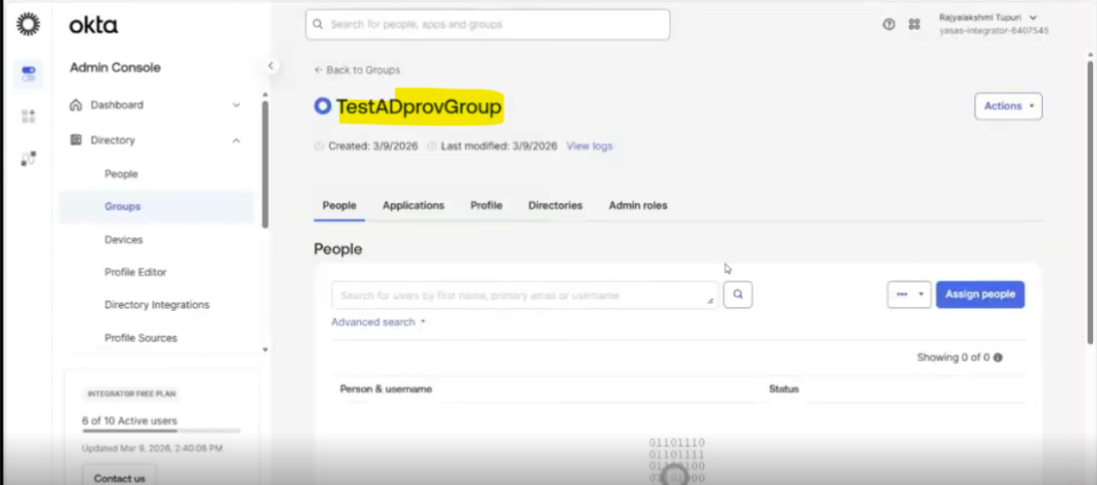
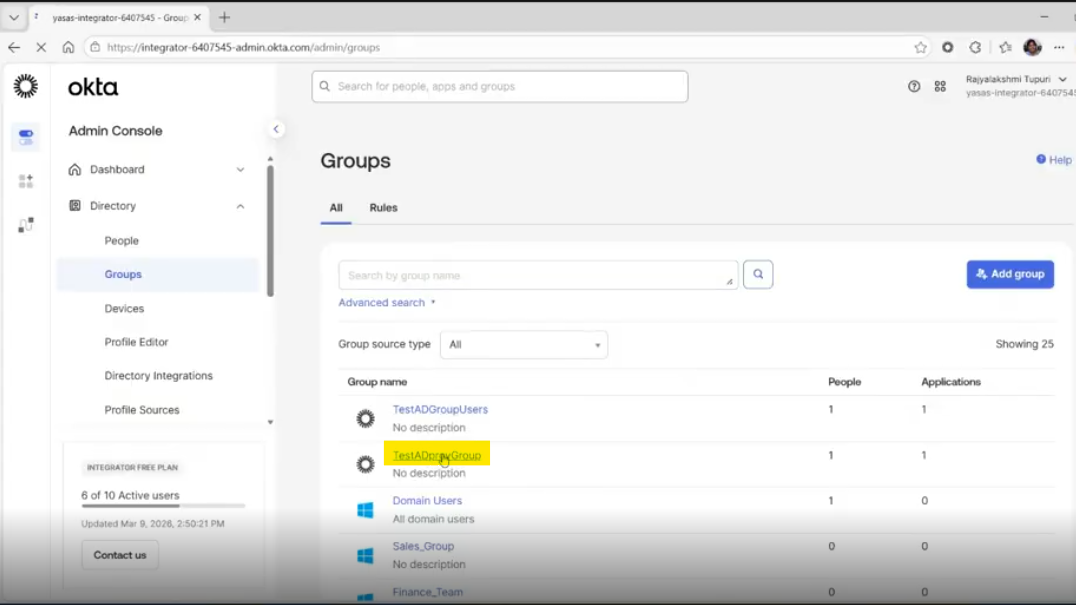
Add a group in Okta
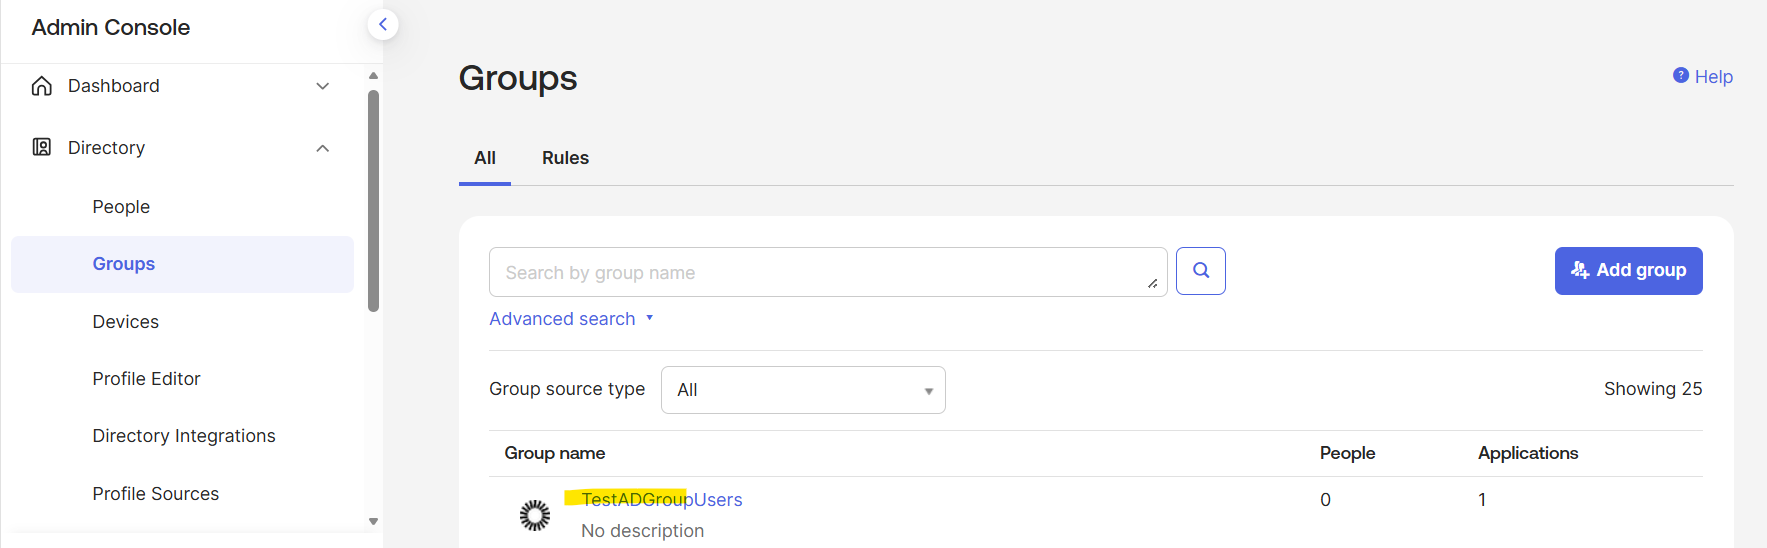
- Go to Directory>Groups
- Create a new group
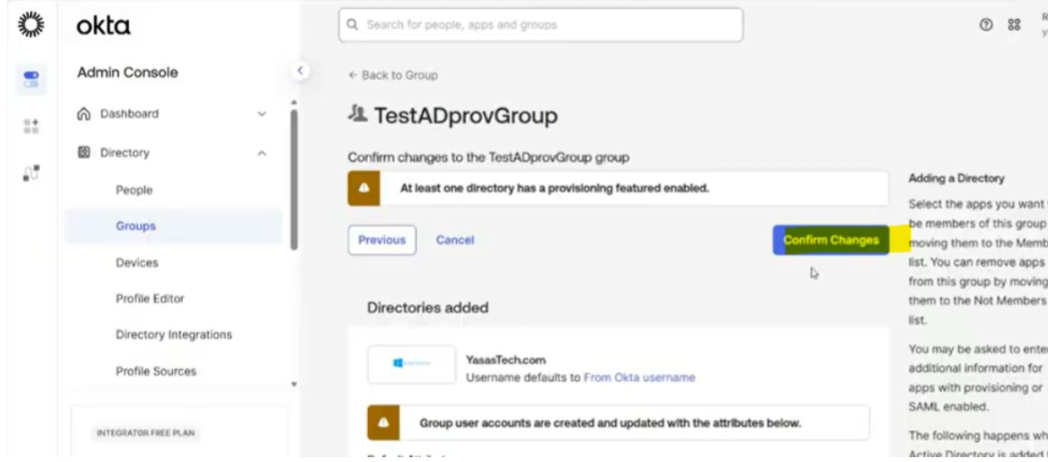
Assign the group to directory
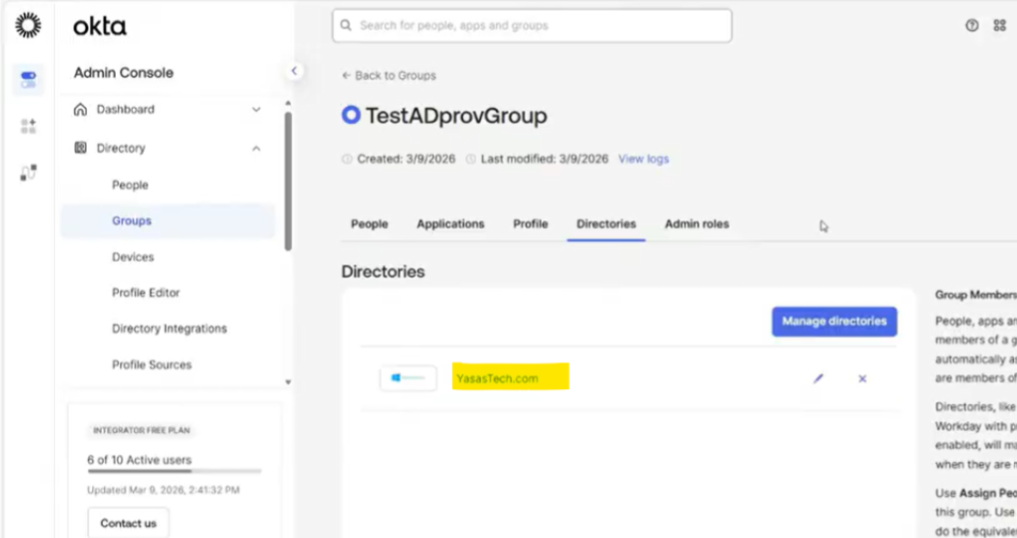
- After creation, click on the group in the Groups screen
- Go to Directories
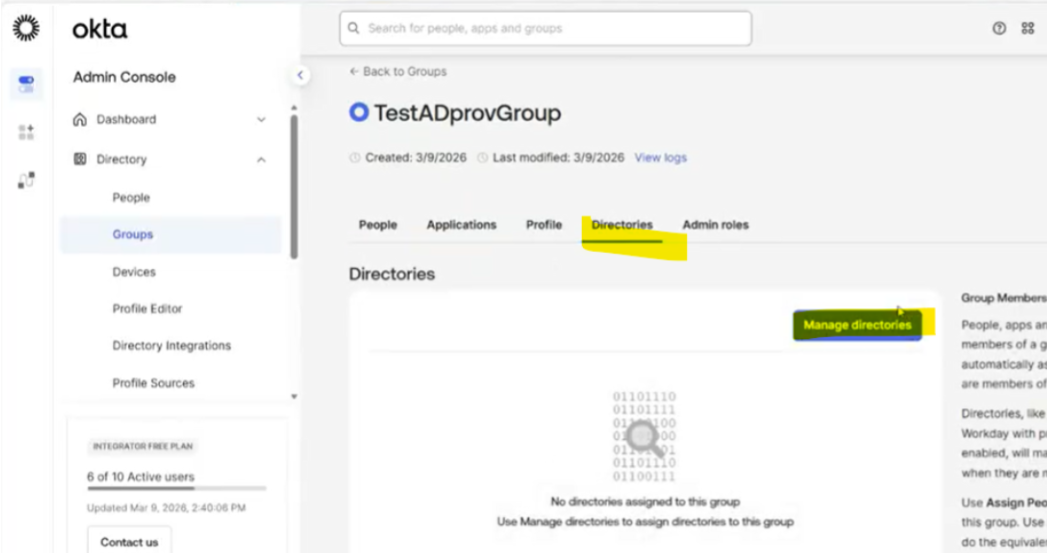
- Select the directory

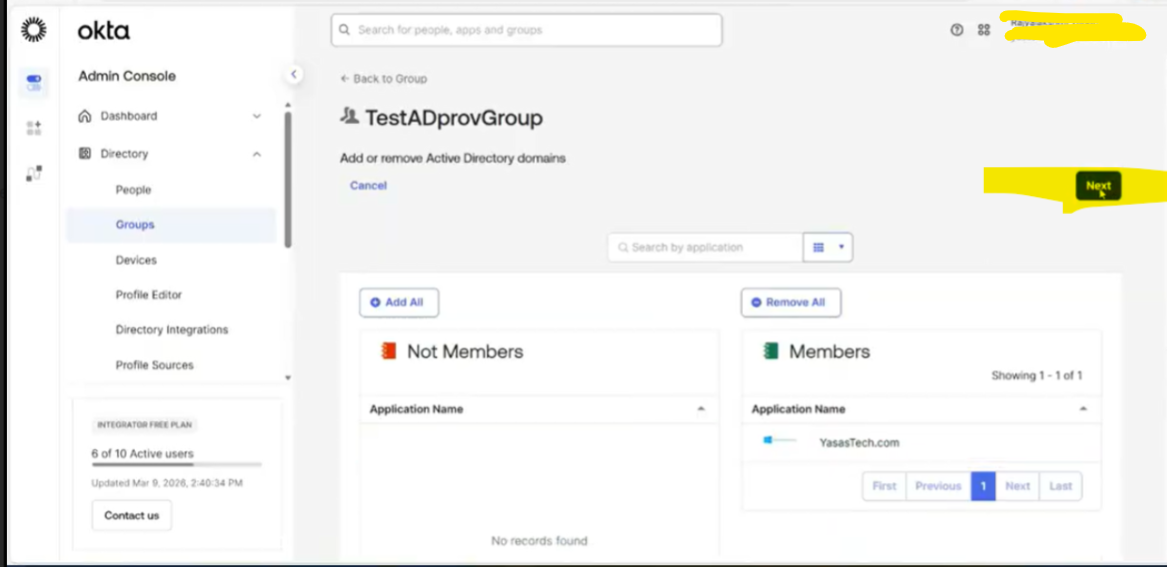
- Hit next
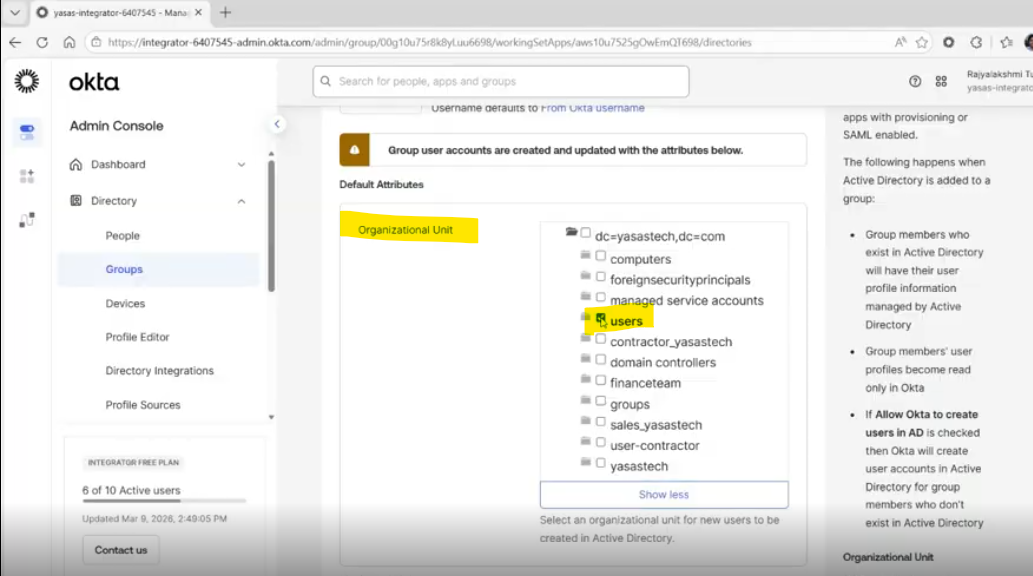
- Select the OU (usually this is the base OU of the user)
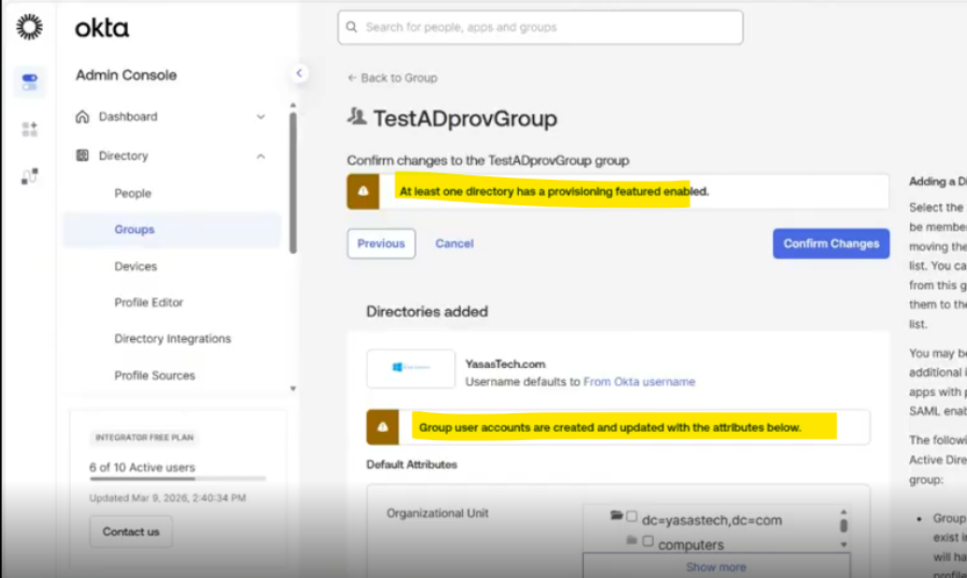
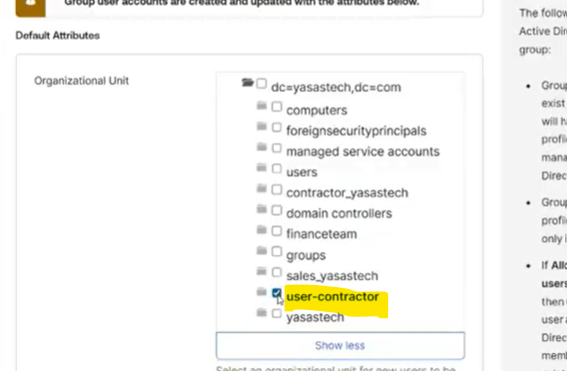
- Confirm the changes
- Now the group has become a provisioning group for AD
Assign user to group
- Navigate to Directory>Groups
- Click the group name from the list of groups
- Click Assign Users
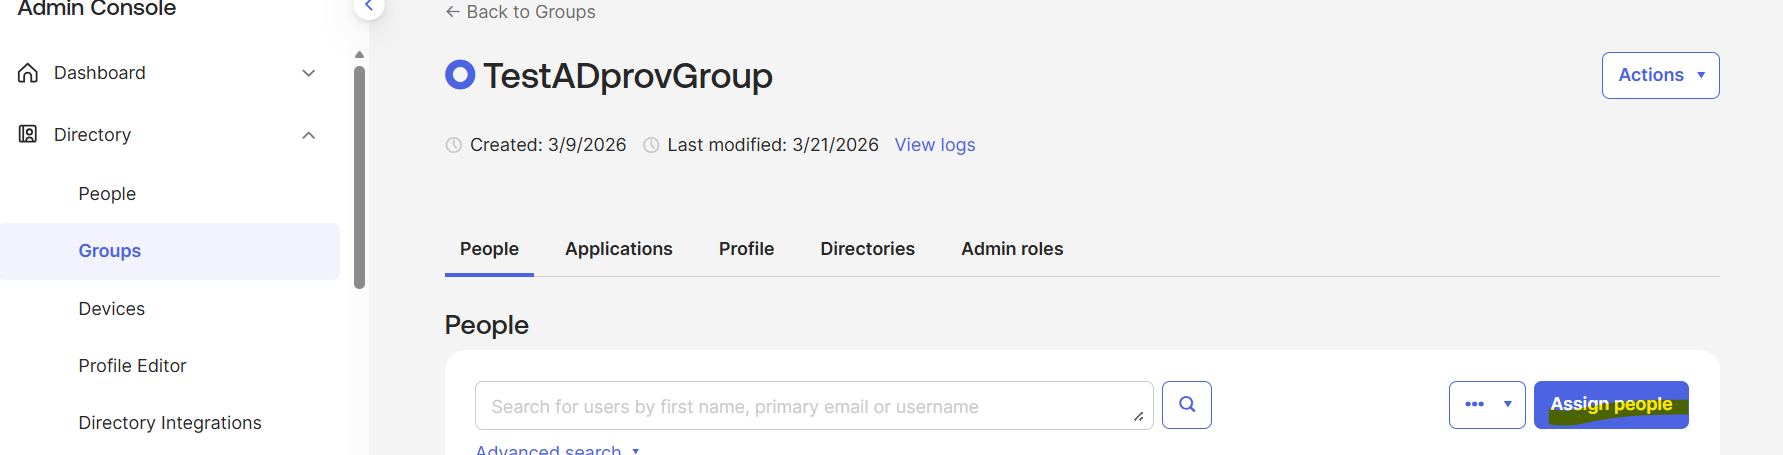
- Select user from the list of users
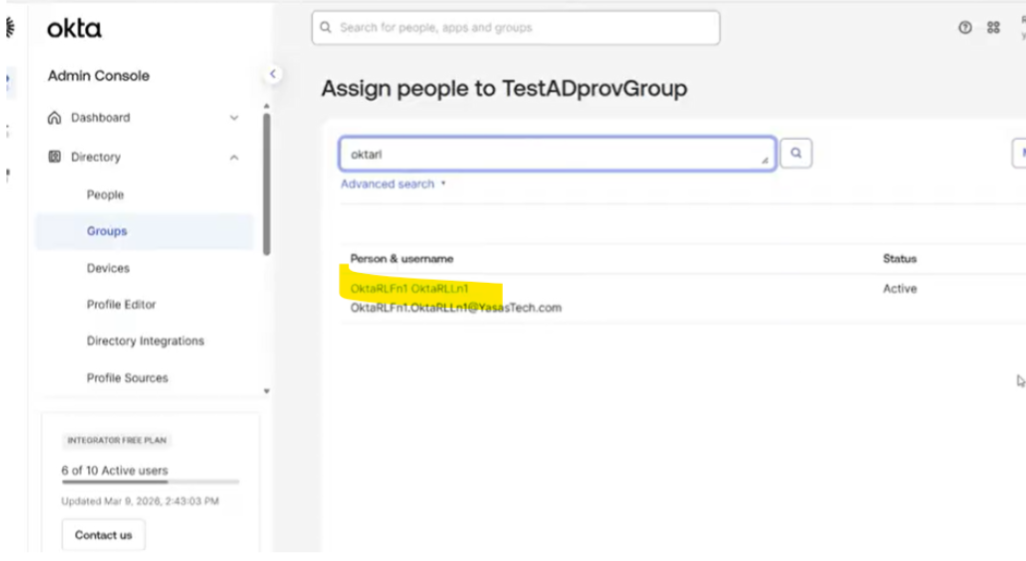
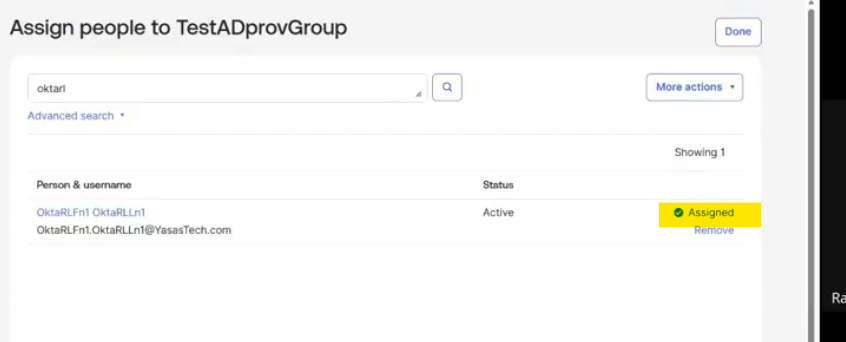
- User is assigned
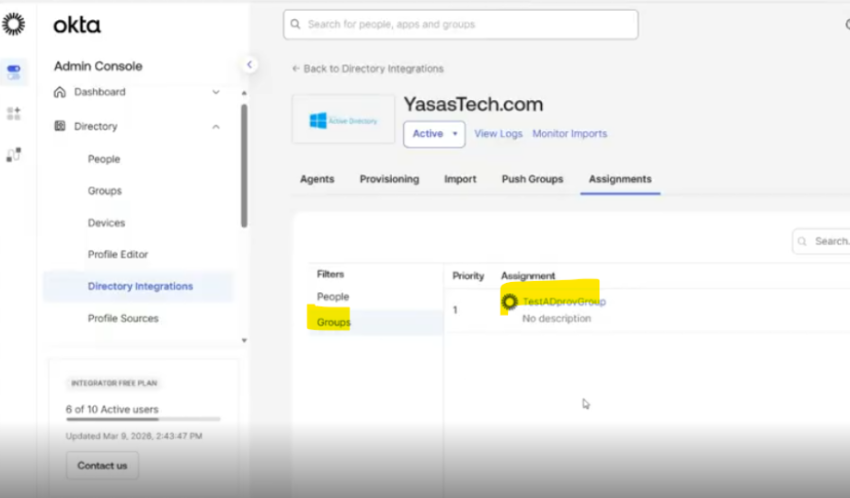
- Verify the group assignment in Directory Integrations > Active Directory
Convert individual assignment to group assignment
To fully enable group-based routing, the user’s application assignment must be converted from an individual assignment to a group assignment using the Okta API.
Open Postman and configure your environment with the correct Okta base URL, API keys, and headers. Okta Admin Management API must have been imported.
Let’s look at the steps:
Retrieve an application user
- API Request: Retrieve an application user
get{{baseURL}}/api/v1/apps/{appId}/users/{userId}
- Input Parameters
userId of the user to be moved to another OU
appId: Active Directory instance ID
We can get these IDs from browser URL when we look up the user and active directory instance
Ex appId:
- Replace the userId and appID from Okta
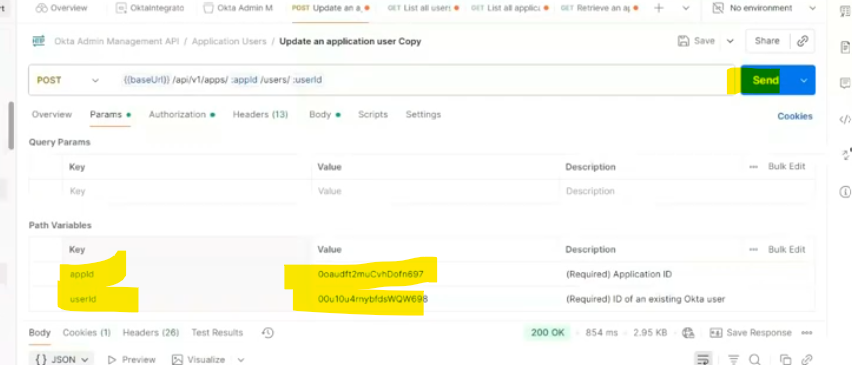
- Hit send to run the request
- Copy the response to notepad/notepad++
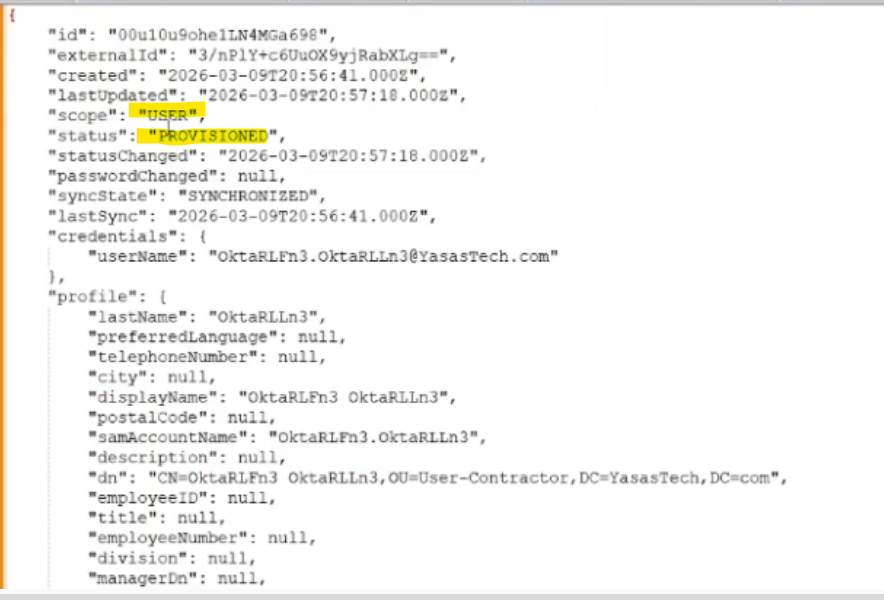
- Observe that the scope is USER which indicates its an individual assignment type
Change the scope on application user to group
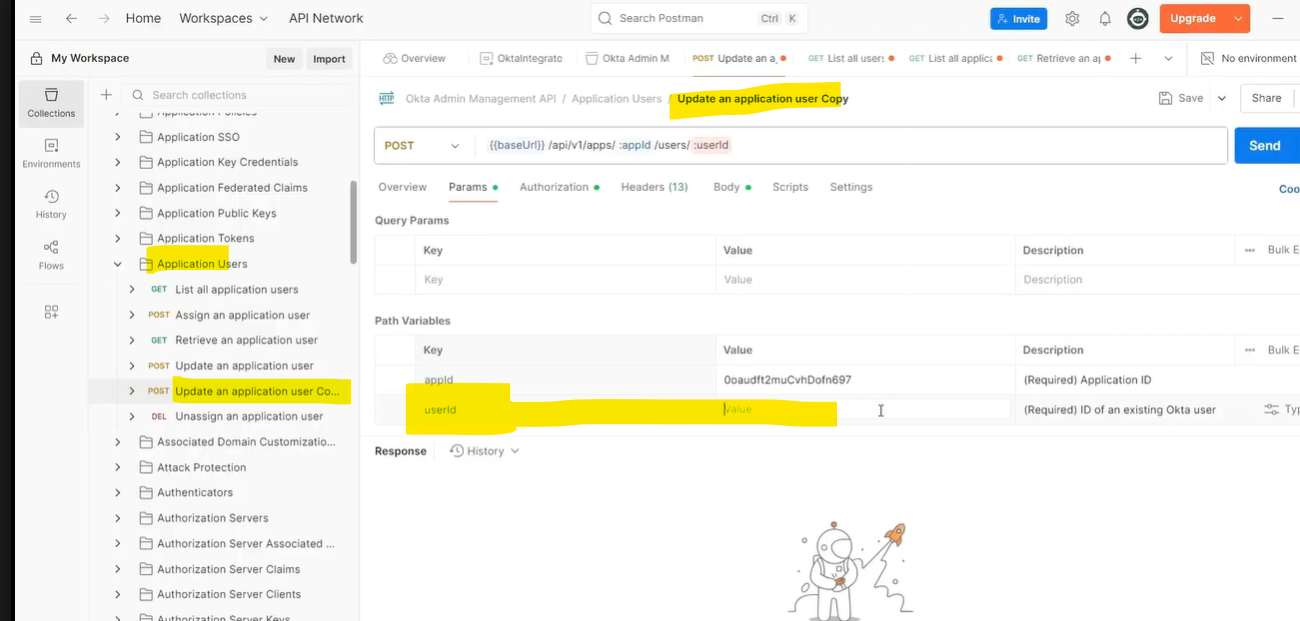
- API Request: Update an application user (we made a duplicate of the request)
post/api/v1/apps/{appId}/users/{userId}
- Input Parameters
userId of the user to be moved to another OU
appId: Active Directory instance ID
We can get these IDs from browser URL when we look up the user and active directory instance
- API request body
Add the below body
{
“scope”: “GROUP”
}
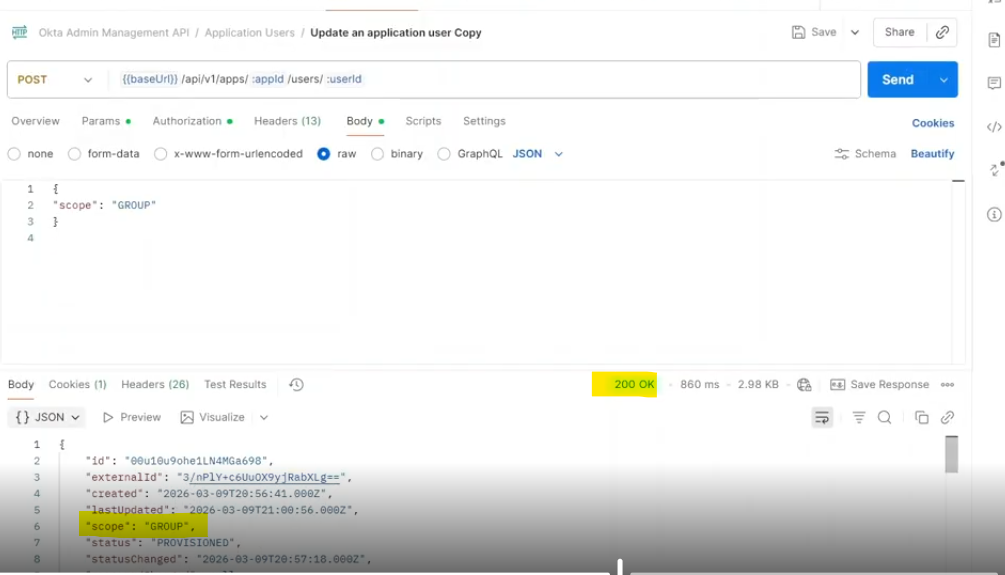
- Hit Send
- Copy the response into a notepad
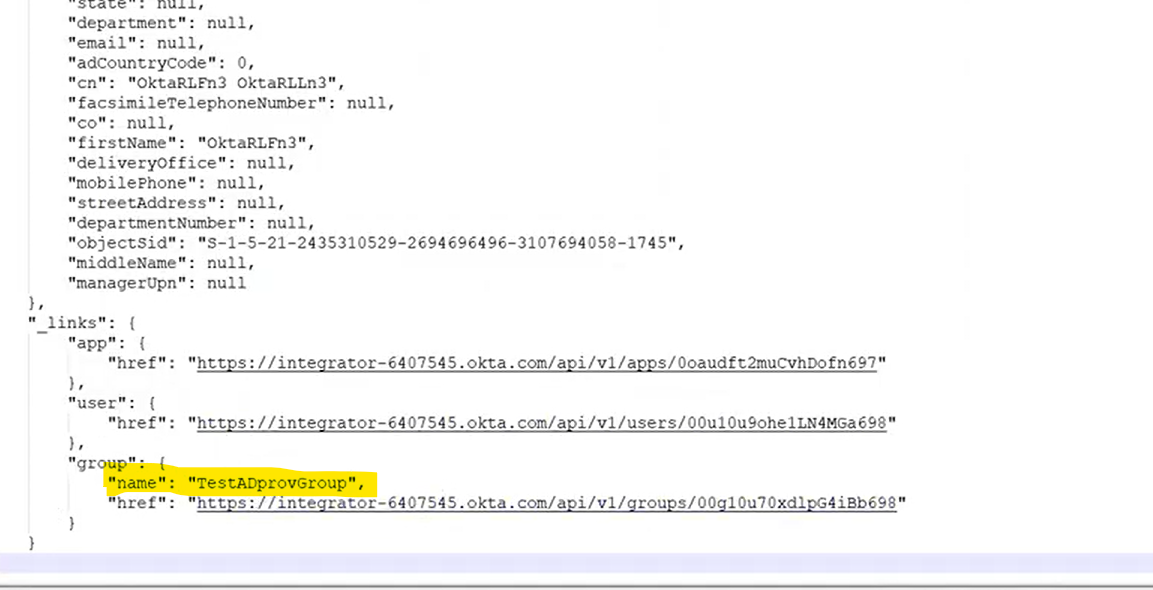
- Observe that the scope has changed to GROUP which indicates a group assignment
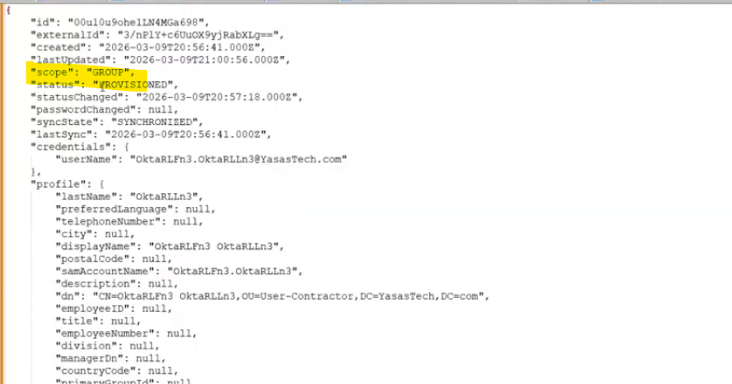
- Also observe the group assignment of the user
Move the user to a new OU
There are mainly 2 steps to move the user to a new OU.
Step 1: Add the user to a new provisioning group
A provisioning group has been created for users OU
- Assign the user to this group
Go to Directory>Groups
Assign intended user to this group

Successfully assigned the user to the group
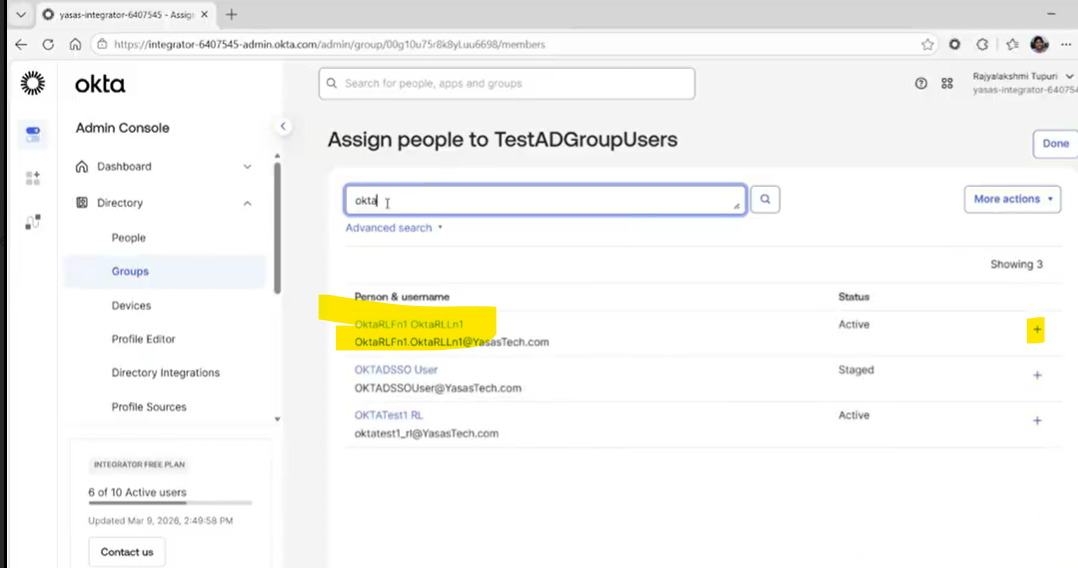
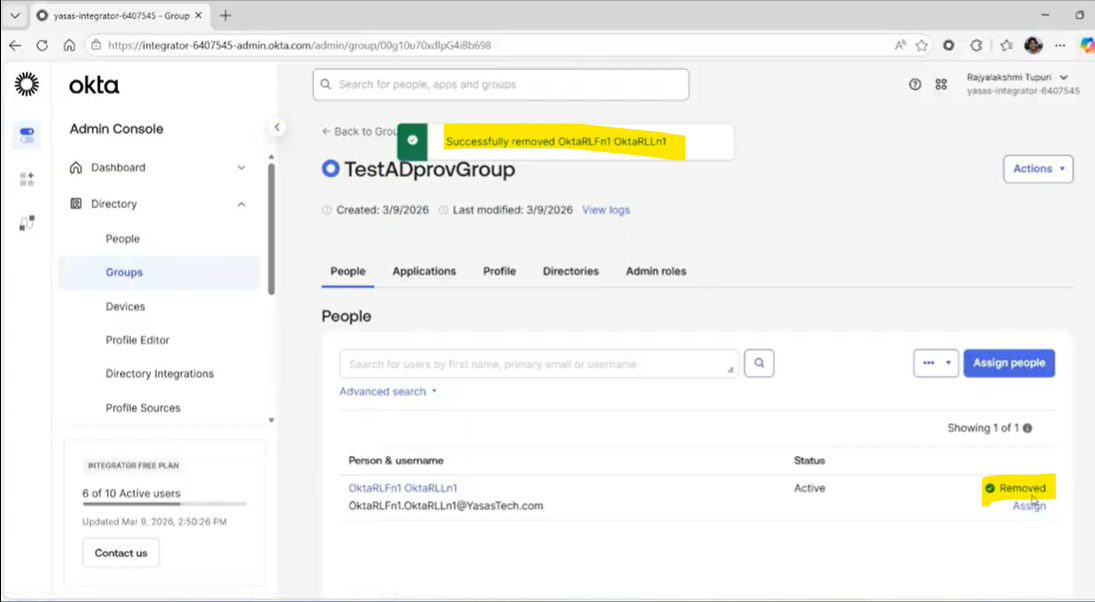
Step 2: Remove the user from previous group
- Find and click the group from Directory>Groups group list
- Find the user to be removed and click remove icon to remove the user from the group
Verification
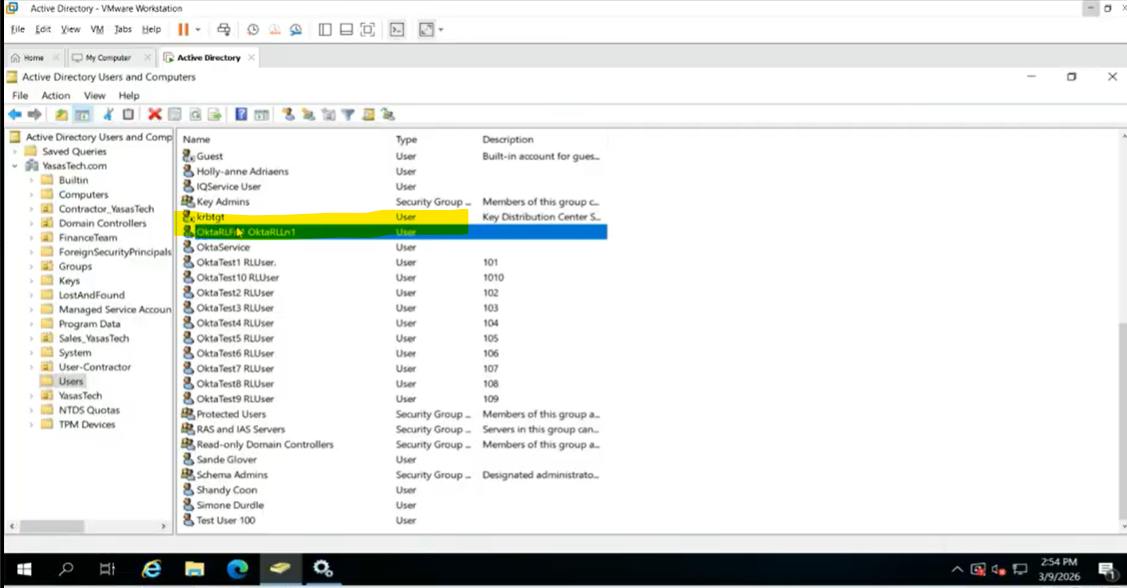
Open Active Directory and refresh the interface.
Check the new Users OU; the user should now be present there, confirming they were successfully moved from the User-Contractor OU to Users OU
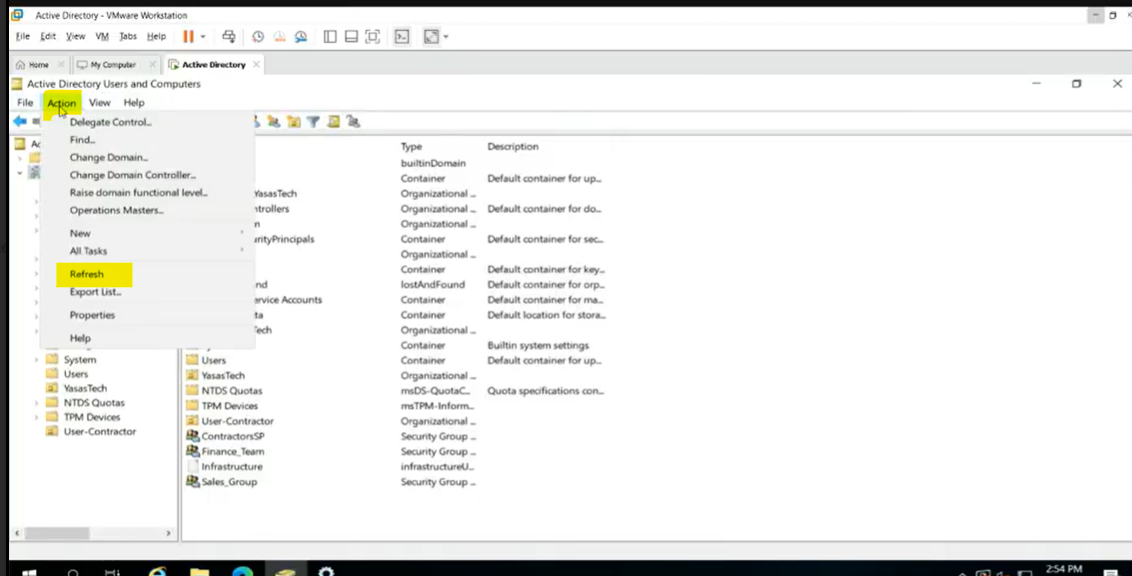
Refresh the OUs and check the user location
User is not present in User-Contractor OU where the user initially existed
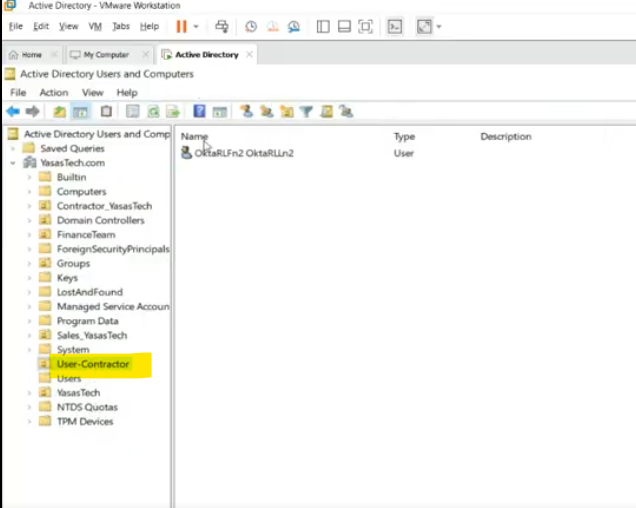
- The user has been moved from User-Contractor to Users OU
Troubleshooting
If the user does not move and you experience “Access denied” errors:
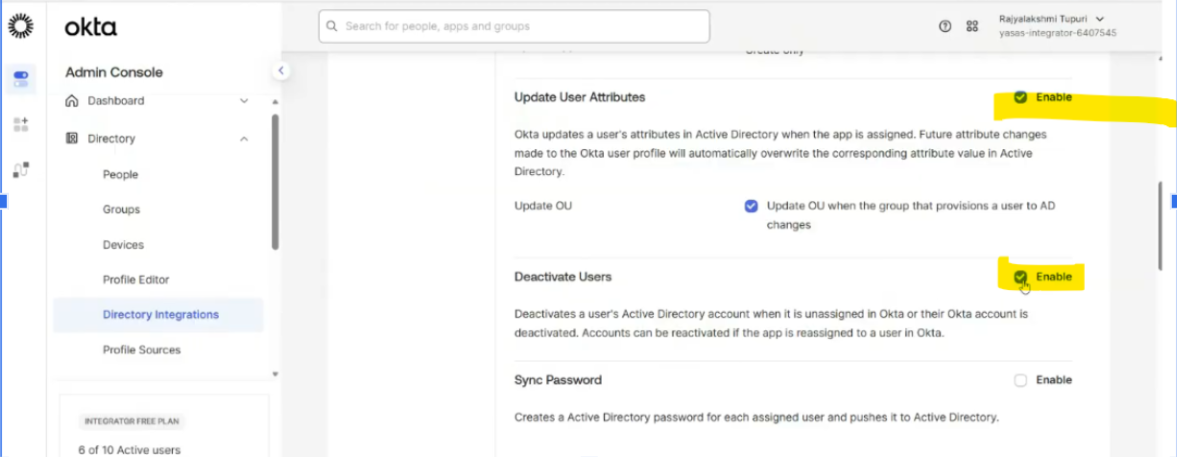
- Check if Update OU when the group that provisions a user to AD changes option is checked under Update User Attributes in Provisioning To App configuration for Active Directory instance
- Check if AD Service Account OktaService (default) has write permissions
- If you have used a different user for integration, check the permissions on same
- Check Okta System Logs for any further details
References
Authors
Ranga Vinjamuri.
Rajya Tupuri.
Sricharan KT